- Oracle Clusterware. Installation and configuration

Содержание
- 2. Objectives After completing this lesson, you should be able to: Describe the installation of Oracle RAC
- 3. Oracle RAC 11g Installation Oracle RAC 11g incorporates a two-phase installation process: Phase one installs Oracle
- 5. Oracle RAC 11g Installation: Outline Complete preinstallation tasks: Hardware requirements Software requirements Environment configuration, kernel parameters,
- 6. Windows and UNIX Installation Differences Startup and shutdown services Environment variables DBA account for database administrators
- 7. Preinstallation Tasks Check system requirements. Check software requirements. Check kernel parameters. Create groups and users. Perform
- 8. Hardware Requirements At least 1 GB of physical memory is needed. A minimum of 1 GB
- 9. Network Requirements Each node must have at least two network adapters. Each public network adapter must
- 10. Virtual IP Addresses and RAC ERP=(DESCRIPTION= ((HOST=clusnode-1vip)) ((HOST=clusnode-2vip)) (SERVICE_NAME=ERP)) clnode-1 ERP=(DESCRIPTION= ((HOST=clusnode-1)) ((HOST=clusnode-2)) (SERVICE_NAME=ERP)) Timeout wait
- 11. RAC Network Software Requirements Supported interconnect software protocols are required: TCP/IP UDP Reliable Data Gram Token
- 12. Package Requirements Package versions are checked by the cluvfy utility. For example, required packages and versions
- 13. Required UNIX Groups and Users Create an oracle user, a dba, and an oinstall group on
- 14. oracle User Environment Set umask to 022. Set the DISPLAY environment variable. Set the ORACLE_BASE environment
- 15. User Shell Limits Add the following lines to the /etc/security/limits.conf file: Add the following line to
- 16. Configuring for Remote Installation To configure Secure Shell: Create the public and private keys on all
- 18. Required Directories for the Oracle Database Software You must identify five directories for the Oracle database
- 20. Linux Operating System Parameters
- 22. Cluster Setup Tasks View the Certifications by Product section at http://metalink.oracle.com/. Verify your high-speed interconnects. Determine
- 23. Verifying Cluster Setup with cluvfy Install the cvuqdisk rpm required for cluvfy: Run the cluvfy utility
- 24. Installing Oracle Clusterware $ export ORACLE_BASE=/u01/app/oracle $ /stage/db/runInstaller
- 25. Specifying the Inventory Directory
- 26. Specify Home Details
- 27. Product-Specific Prerequisite Checks
- 28. Cluster Configuration
- 29. Private Interconnect Enforcement
- 30. Oracle Cluster Registry File
- 31. Voting Disk File
- 32. Summary and Install
- 33. Run Configuration Scripts on All Nodes
- 34. End of Installation
- 35. Verifying the Oracle Clusterware Installation Check for Oracle Clusterware processes with the ps command. Check the
- 37. Summary In this lesson, you should have learned how to: Describe the installation of Oracle RAC
- 39. Скачать презентацию
Objectives
After completing this lesson, you should be able to:
Describe the installation
Objectives
After completing this lesson, you should be able to:
Describe the installation
Oracle RAC 11g Installation
Oracle RAC 11g incorporates a two-phase installation process:
Phase
Oracle RAC 11g Installation
Oracle RAC 11g incorporates a two-phase installation process:
Phase
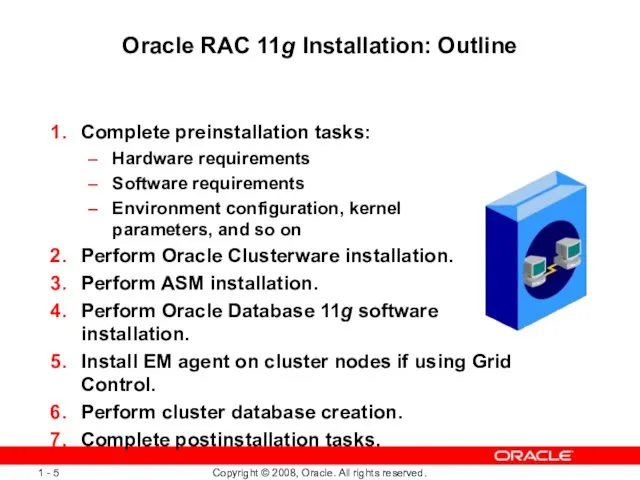
Oracle RAC 11g Installation: Outline
Complete preinstallation tasks:
Hardware requirements
Software requirements
Environment configuration, kernel
Oracle RAC 11g Installation: Outline
Complete preinstallation tasks:
Hardware requirements
Software requirements
Environment configuration, kernel
Windows and UNIX Installation Differences
Startup and shutdown services
Environment variables
DBA account
Windows and UNIX Installation Differences
Startup and shutdown services
Environment variables
DBA account
Preinstallation Tasks
Check system requirements.
Check software requirements.
Check kernel parameters.
Create groups and users.
Perform
Preinstallation Tasks
Check system requirements.
Check software requirements.
Check kernel parameters.
Create groups and users.
Perform
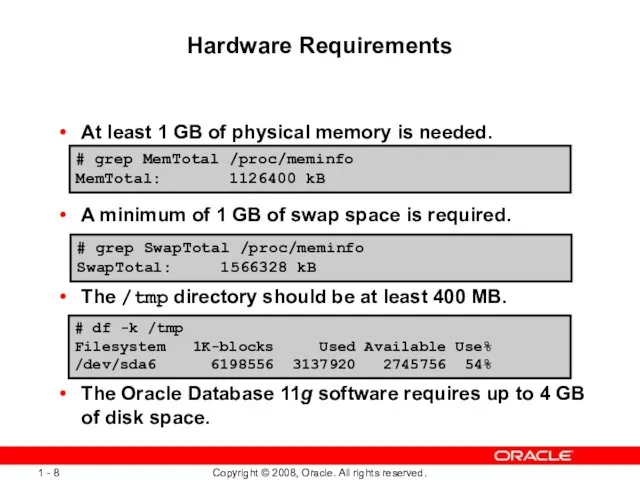
Hardware Requirements
At least 1 GB of physical memory is needed.
A minimum
Hardware Requirements
At least 1 GB of physical memory is needed.
A minimum
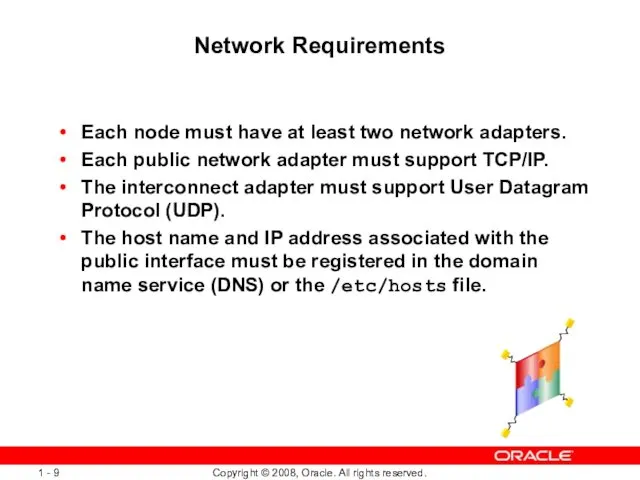
Network Requirements
Each node must have at least two network adapters.
Each public
Network Requirements
Each node must have at least two network adapters.
Each public
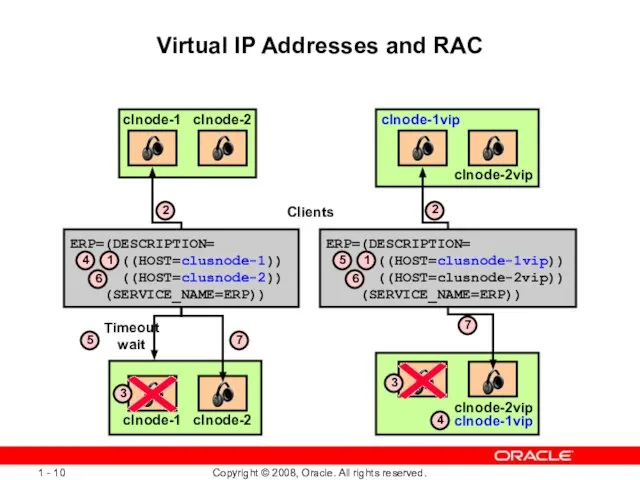
Virtual IP Addresses and RAC
ERP=(DESCRIPTION=
((HOST=clusnode-1vip))
((HOST=clusnode-2vip))
(SERVICE_NAME=ERP))
clnode-1
ERP=(DESCRIPTION=
((HOST=clusnode-1))
((HOST=clusnode-2))
(SERVICE_NAME=ERP))
Timeout
wait
clnode-2
clnode-1
clnode-2
2
5
3
7
clnode-1vip
clnode-2vip
2
clnode-1vip
clnode-2vip
3
4
7
Clients
1
4
6
1
5
6
RAC Network Software Requirements
Supported interconnect software protocols are required:
TCP/IP
UDP
Reliable Data Gram
Token
RAC Network Software Requirements
Supported interconnect software protocols are required:
TCP/IP
UDP
Reliable Data Gram
Token
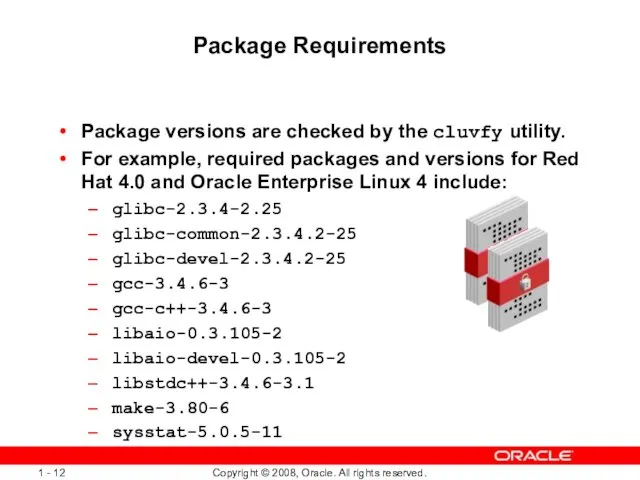
Package Requirements
Package versions are checked by the cluvfy utility.
For example, required
Package Requirements
Package versions are checked by the cluvfy utility.
For example, required
Required UNIX Groups and Users
Create an oracle user, a dba, and
Required UNIX Groups and Users
Create an oracle user, a dba, and
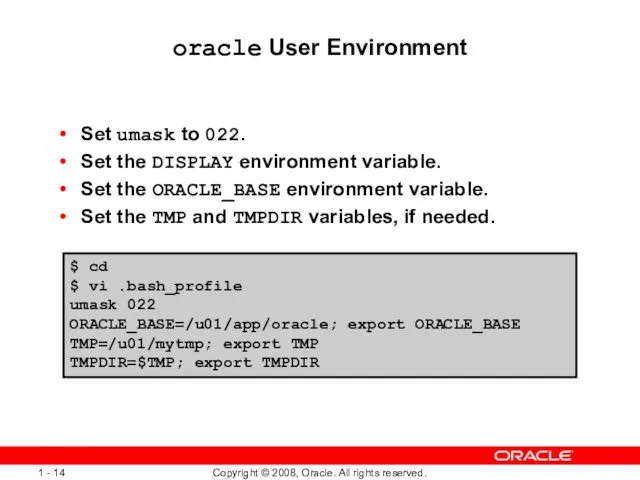
oracle User Environment
Set umask to 022.
Set the DISPLAY environment variable.
Set the
oracle User Environment
Set umask to 022.
Set the DISPLAY environment variable.
Set the

User Shell Limits
Add the following lines to the /etc/security/limits.conf file:
Add the
User Shell Limits
Add the following lines to the /etc/security/limits.conf file:
Add the
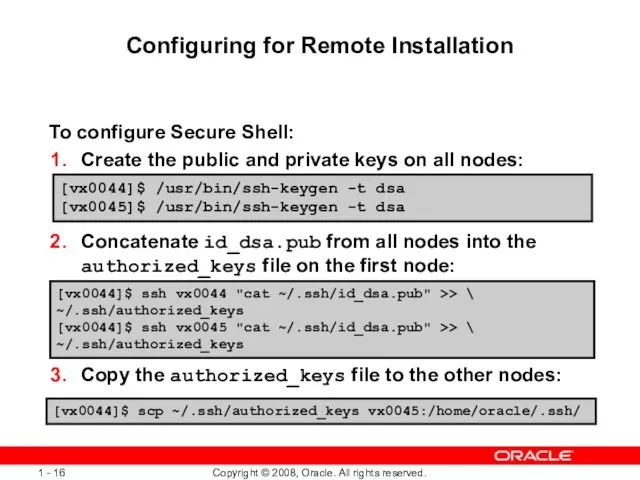
Configuring for Remote Installation
To configure Secure Shell:
Create the public and private
Configuring for Remote Installation
To configure Secure Shell:
Create the public and private

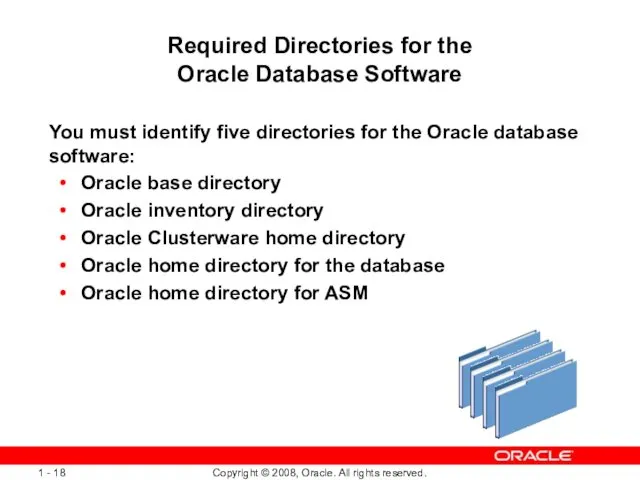
Required Directories for the
Oracle Database Software
You must identify five directories
Required Directories for the
Oracle Database Software
You must identify five directories
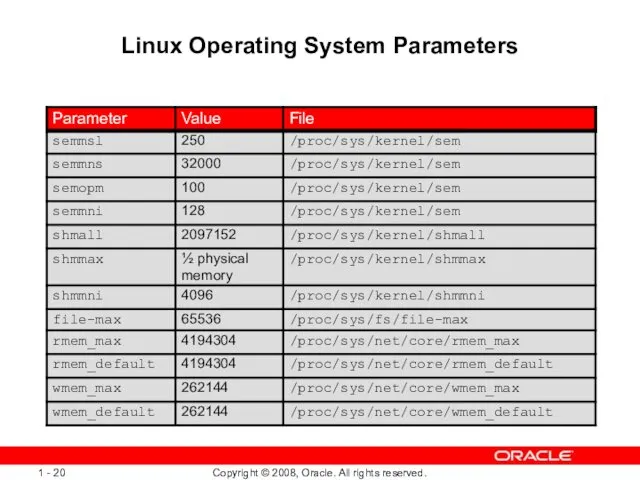
Linux Operating System Parameters
Linux Operating System Parameters

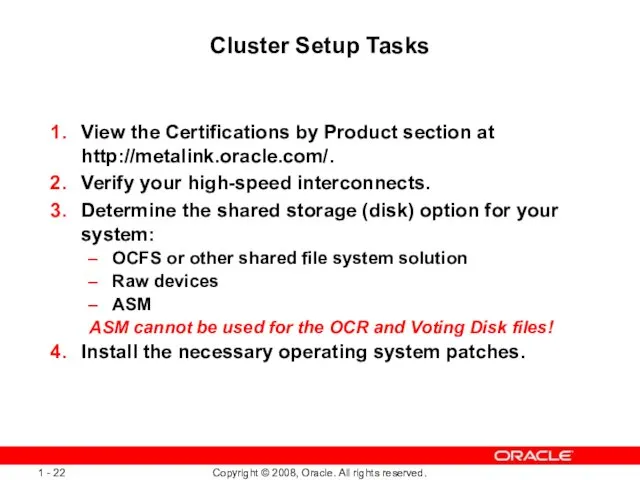
Cluster Setup Tasks
View the Certifications by Product section at http://metalink.oracle.com/.
Verify your
Cluster Setup Tasks
View the Certifications by Product section at http://metalink.oracle.com/.
Verify your
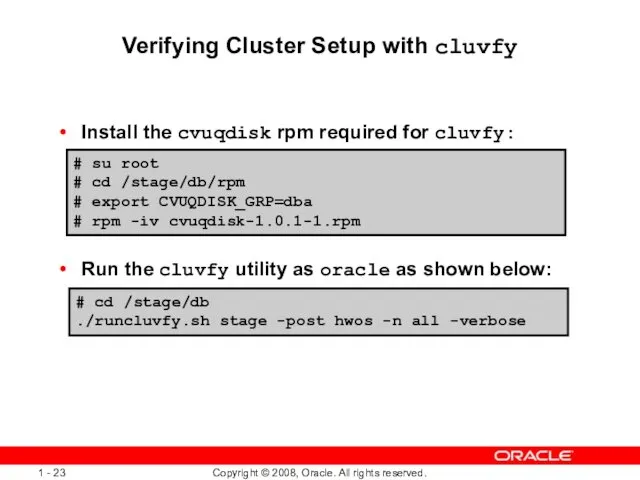
Verifying Cluster Setup with cluvfy
Install the cvuqdisk rpm required for cluvfy:
Run
Verifying Cluster Setup with cluvfy
Install the cvuqdisk rpm required for cluvfy:
Run
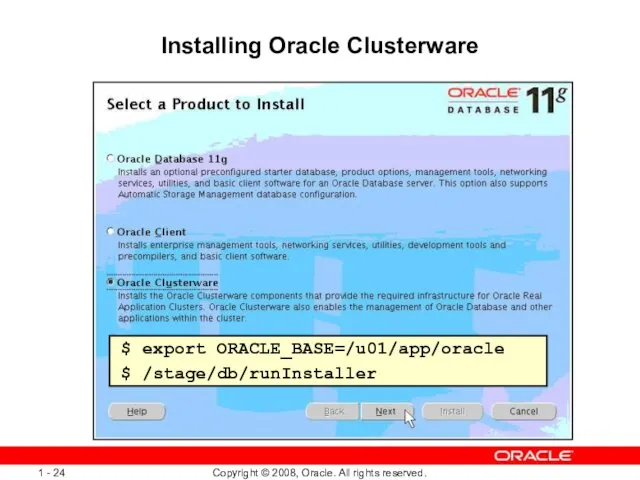
Installing Oracle Clusterware
$ export ORACLE_BASE=/u01/app/oracle
$ /stage/db/runInstaller
Installing Oracle Clusterware
$ export ORACLE_BASE=/u01/app/oracle
$ /stage/db/runInstaller
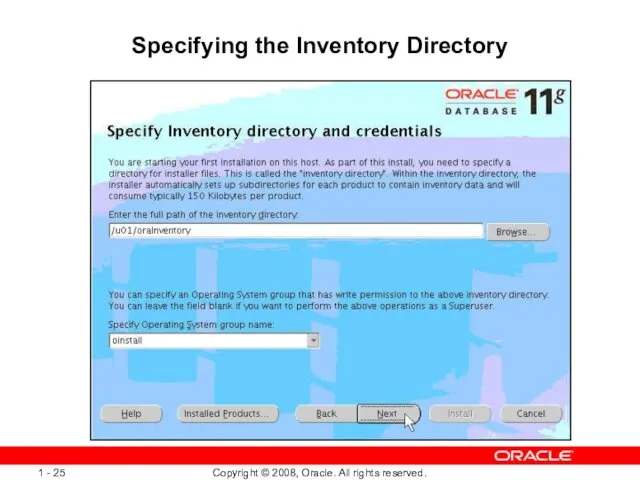
Specifying the Inventory Directory
Specifying the Inventory Directory
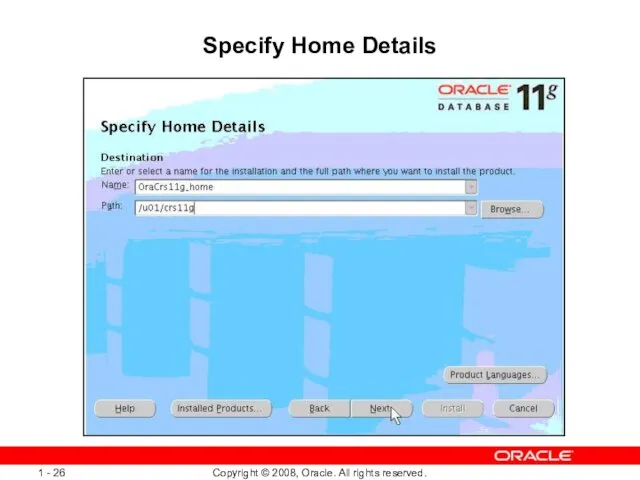
Specify Home Details
Specify Home Details
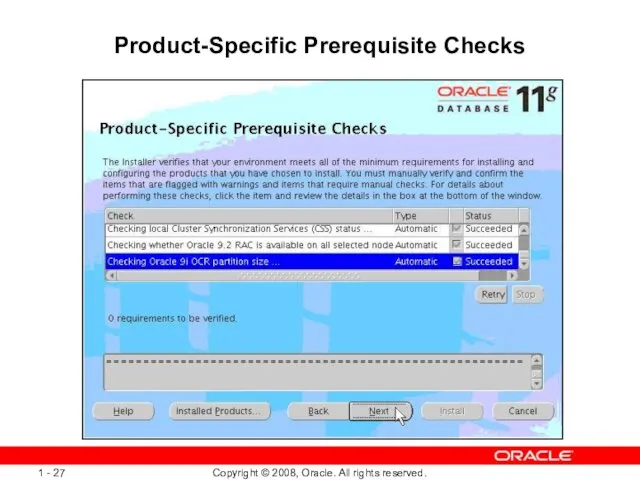
Product-Specific Prerequisite Checks
Product-Specific Prerequisite Checks
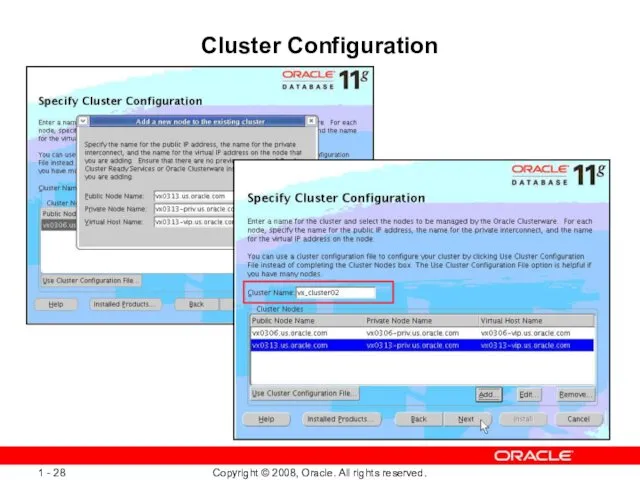
Cluster Configuration
Cluster Configuration
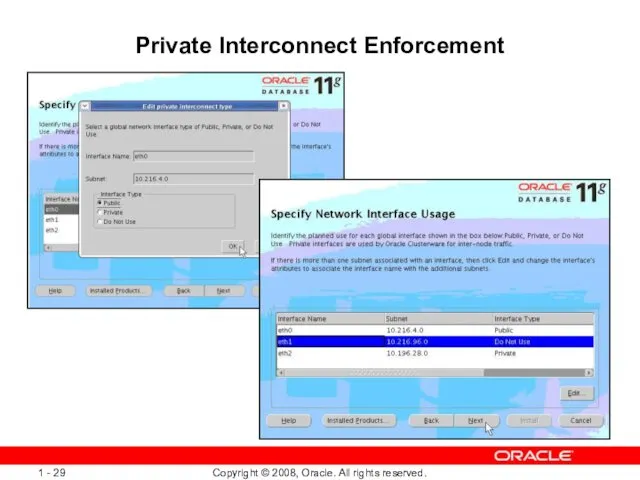
Private Interconnect Enforcement
Private Interconnect Enforcement
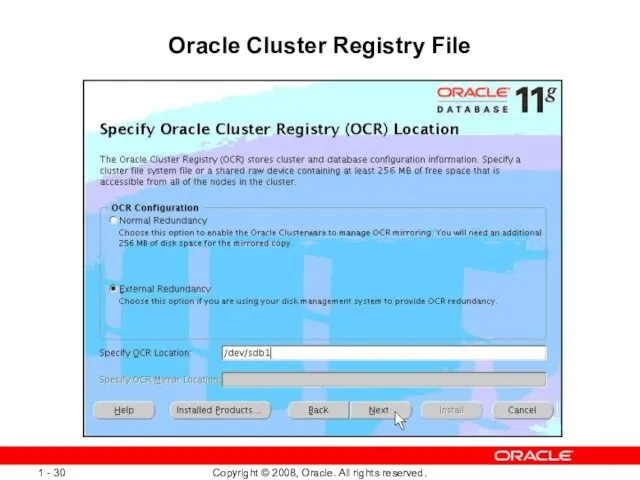
Oracle Cluster Registry File
Oracle Cluster Registry File

Voting Disk File
Voting Disk File
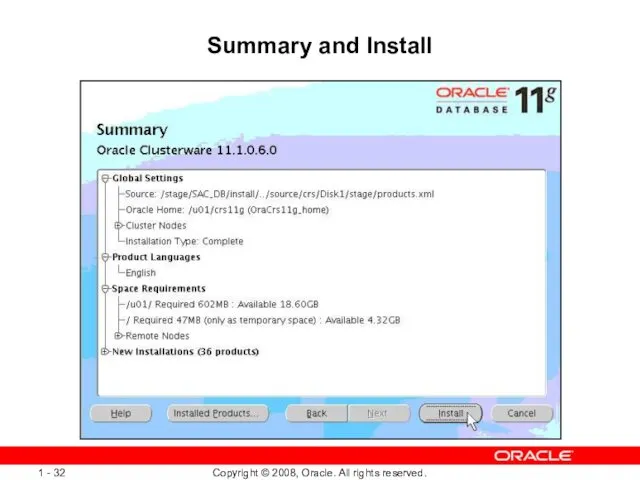
Summary and Install
Summary and Install
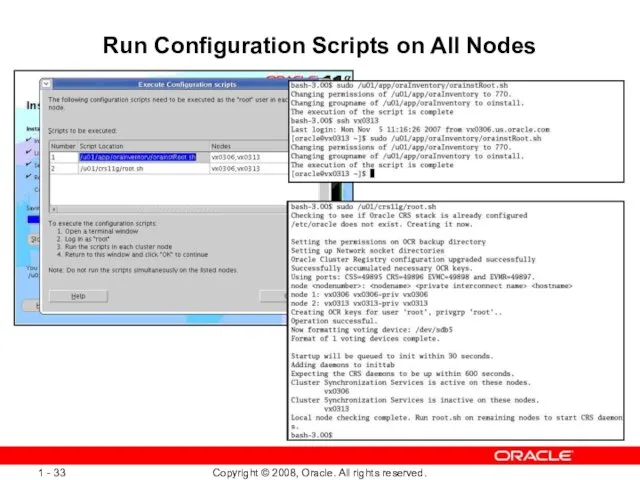
Run Configuration Scripts on All Nodes
Run Configuration Scripts on All Nodes
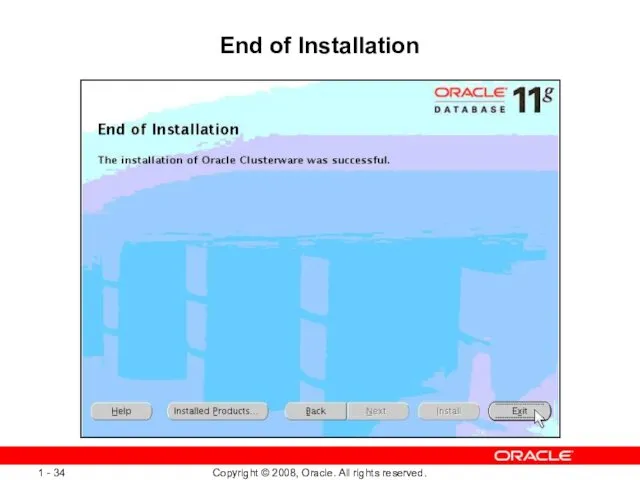
End of Installation
End of Installation
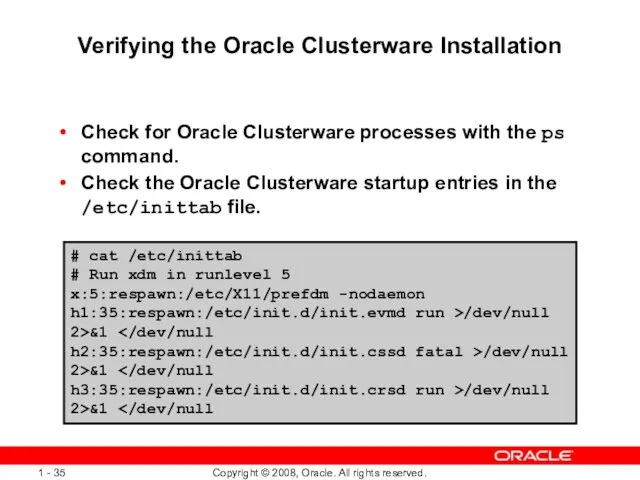
Verifying the Oracle Clusterware Installation
Check for Oracle Clusterware processes with the
Verifying the Oracle Clusterware Installation
Check for Oracle Clusterware processes with the

Summary
In this lesson, you should have learned how to:
Describe the installation
Summary
In this lesson, you should have learned how to:
Describe the installation
 Виртуальная реальность
 Розробка навчальної інформаційної системи для обчислення кількості конфігурацій, утворених складеною лінійкою
 Электронная энциклопедия Устройство компьютера
 Форматирование текста и размещение графики.
 Форматирование текста
 Количество информации Ермишко Ольга Константиновна учитель математики и информатики МОУ СОШ № 4 пгт Прогресс 2011
 Оператор повторения Цикл for…to…do Цикл for…downto…do
 Авторская колонка или колумнистика
 ROFLANRABOTA2.SEMADOG
 Работаем художниками-иллюстраторами
 Что делает Яндекс для образования
 Основні поняття реляційної моделі даних
 Технології створення програмних продуктів
 Автоматное программирование А.А. Шалыто Санкт-Петербургский государственный университет информационных технологий, механик
 Microsoft® Office Access 2007. Быстрое освоение программы
 Основы моделирования в CAE пакете ANSYS Mechanical APDL
 Интернет-кредитование в POS-канале. Технология ARSnova – ЦВП
 Иерархия в SQL. Способы представления иерархических данных
 Тест по теме: Элементы теории алгоритмов
 Introduction to Segment tree
 Презентация по информатике История вычислительной техники – Суперкомпьютеры
  Построение блок-схем к задачам линейной, разветвляющей и циклической структур
 Data Modeling and Databases II - The Relational Data Model and SQL
 Групповые операции в запросах Access
 Моделирование и формализация
 Приложение для обучения сотрудников общественного питания стандартам сервиса СУП - система управления персоналом
 Обработка текстовой информации Текстовые редакторы и процессоры
 Презентация "Морской бой" - скачать презентации по Информатике