- Lab Safety (pp7-9 of lab supplement)

Содержание
- 3. Emergency procedures Where is our nearest exit? Where do we go if we have to evacuate?
- 4. Workplace Hazardous Materials Information System 3 parts to the system… Education Labels SDS sheets
- 5. In regular lab activities, students are responsible for: Reading labels in the lab Identifying the hazards
- 6. Workplace label = much simpler; most often what you will see in the lab Name of
- 7. Know the symbols and what they mean! Which ones do you see in the lab today?
- 8. Introduction to Microscopes BIOL 104: Lab 1
- 9. Goals for today: Compare longitudinal and cross sections Compare four types of microscopes Demonstrate correct use
- 10. Function of Microscopes Create a magnified image of a specimen while maintaining resolution Magnification: create an
- 11. Increased magnification with no change in resolution Increased magnification with increased resolution
- 12. Electron Microscopes Use electron beam to create image Advantages High magnification High resolution Drawbacks Expensive Require
- 13. Transmission EM 2D image Specimen has to be sectioned (=sliced very thin) Scanning EM Can view
- 14. Preparing specimens may involve sectioning Longitudinal section Cross section
- 15. Light microscopes Compound Microscope Stereo Microscope Specimen goes here Specimen goes here
- 16. Compare types of light microscope: Other comparisons to consider: Is the image 3D or 2D? Is
- 17. COMPOUND MICROSCOPES
- 18. Scanning Low High Magnification
- 19. Working Distance: Space between specimen and magnifying lens ALWAYS START AT LOWEST MAGNIFICATION As you increase
- 20. Increasing magnification Field of view Field of view
- 21. Field of View How much of the specimen is visible = field of view Changes as
- 22. Depth of field Compound microscope gives 2D image Need to refocus to see top and bottom
- 23. Today’s to do list: Complete all activities in the “Microscopy” lab in your lab manual You
- 25. Скачать презентацию

Emergency procedures
Where is our nearest exit?
Where do we go if we
Emergency procedures
Where is our nearest exit?
Where do we go if we
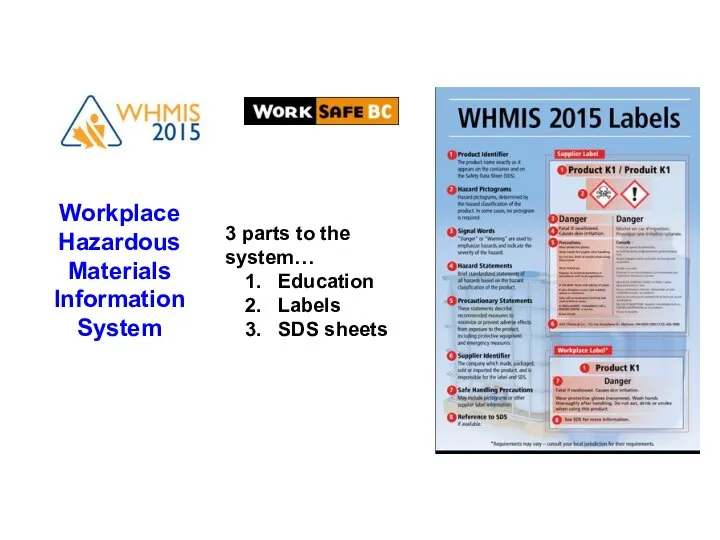
Workplace
Hazardous
Materials
Information
System
3 parts to the system…
Education
Labels
SDS sheets
Workplace
Hazardous
Materials
Information
System
3 parts to the system…
Education
Labels
SDS sheets
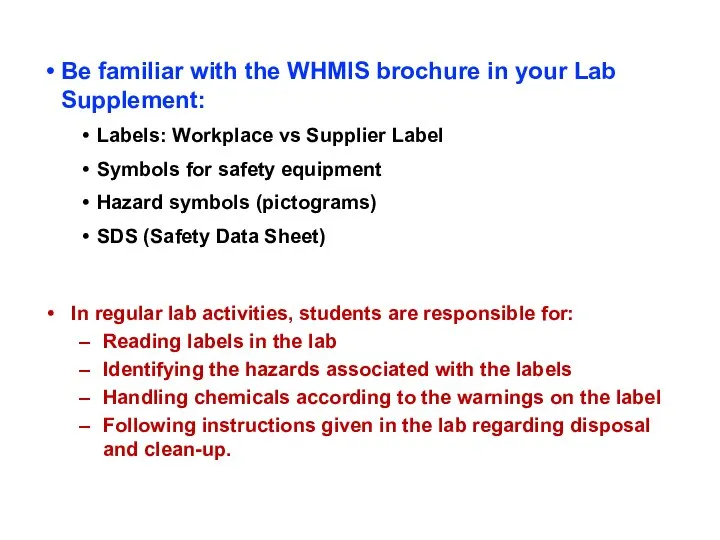
In regular lab activities, students are responsible for:
Reading labels in
Reading labels in
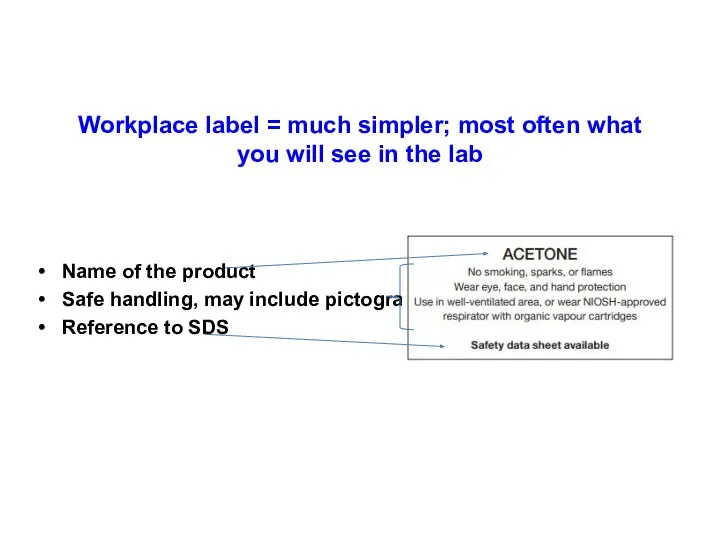
Workplace label = much simpler; most often what you will see
Workplace label = much simpler; most often what you will see
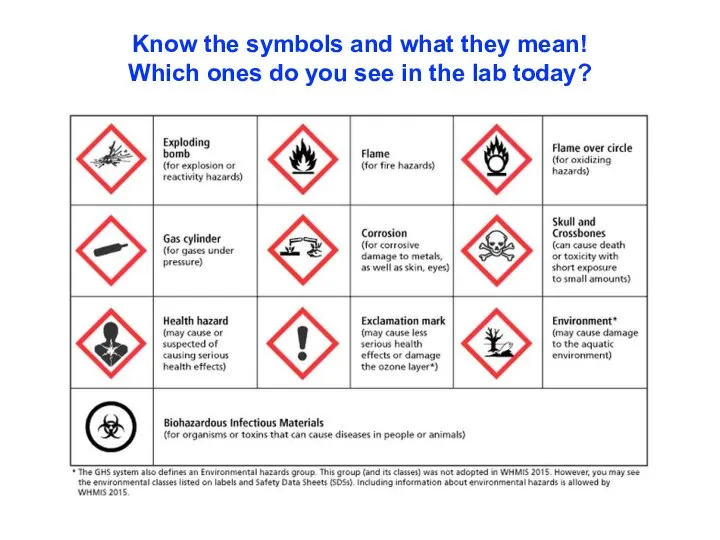
Know the symbols and what they mean!
Which ones do you see
Know the symbols and what they mean! Which ones do you see
Introduction to Microscopes
BIOL 104: Lab 1
Introduction to Microscopes
BIOL 104: Lab 1
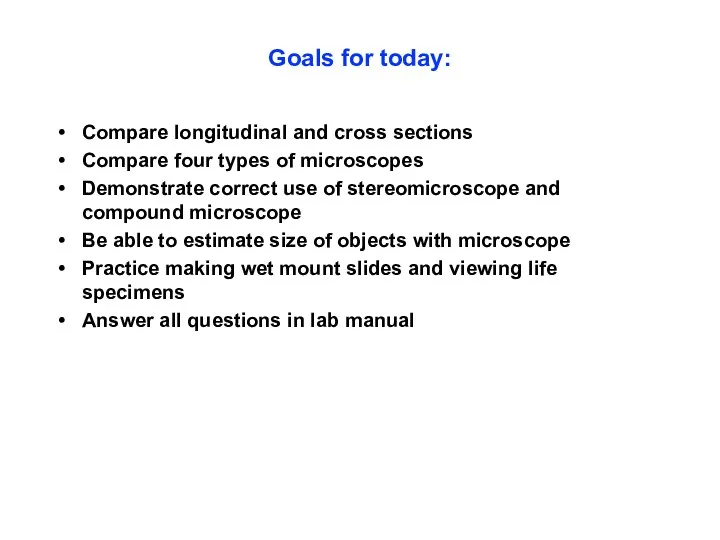
Goals for today:
Compare longitudinal and cross sections
Compare four types of microscopes
Demonstrate
Goals for today:
Compare longitudinal and cross sections
Compare four types of microscopes
Demonstrate
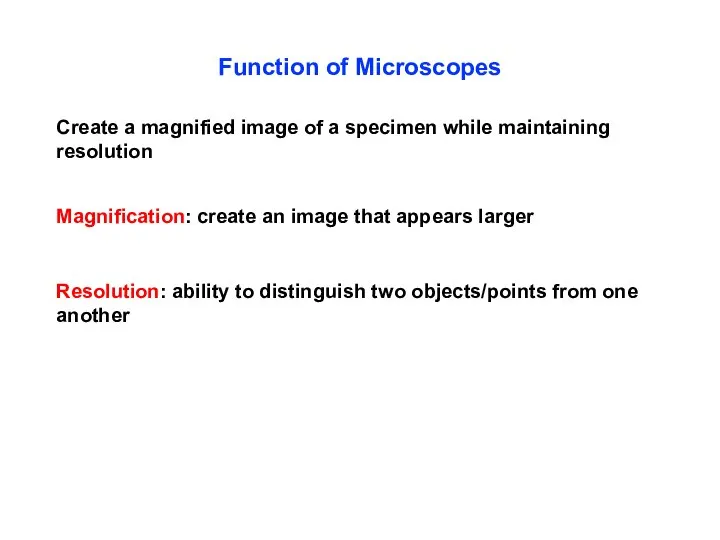
Function of Microscopes
Create a magnified image of a specimen while maintaining
Function of Microscopes
Create a magnified image of a specimen while maintaining
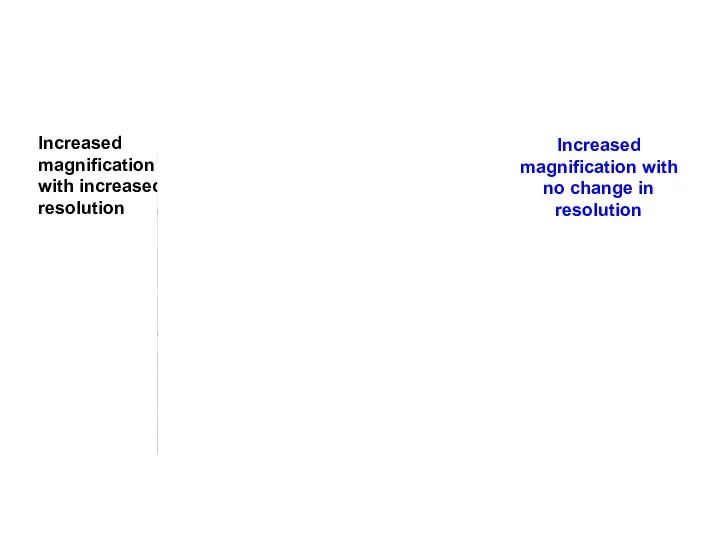
Increased magnification with no change in resolution
Increased magnification with increased resolution
Increased magnification with no change in resolution
Increased magnification with increased resolution
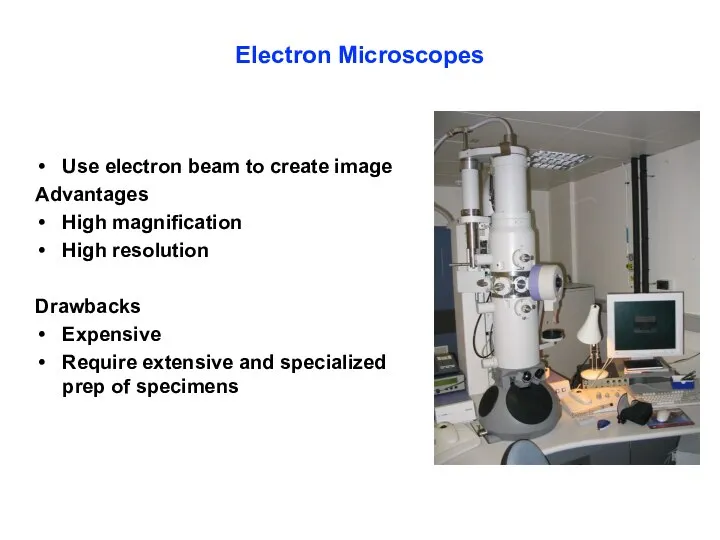
Electron Microscopes
Use electron beam to create image
Advantages
High magnification
High resolution
Drawbacks
Expensive
Require
Electron Microscopes
Use electron beam to create image
Advantages
High magnification
High resolution
Drawbacks
Expensive
Require
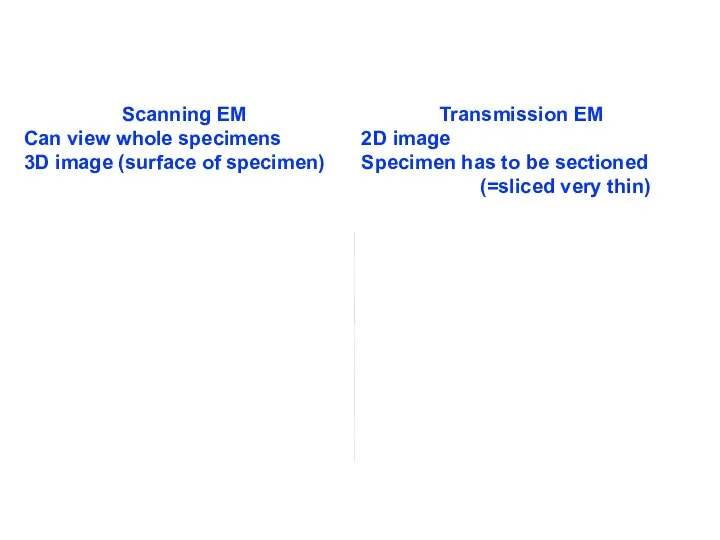
Transmission EM
2D image
Specimen has to be sectioned (=sliced very thin)
Scanning EM
Can
Transmission EM
2D image
Specimen has to be sectioned (=sliced very thin)
Scanning EM
Can
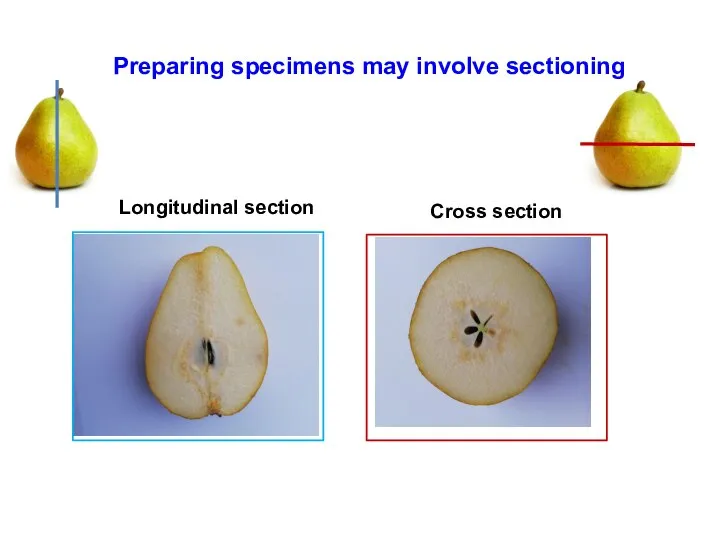
Preparing specimens may involve sectioning
Longitudinal section
Cross section
Preparing specimens may involve sectioning
Longitudinal section
Cross section
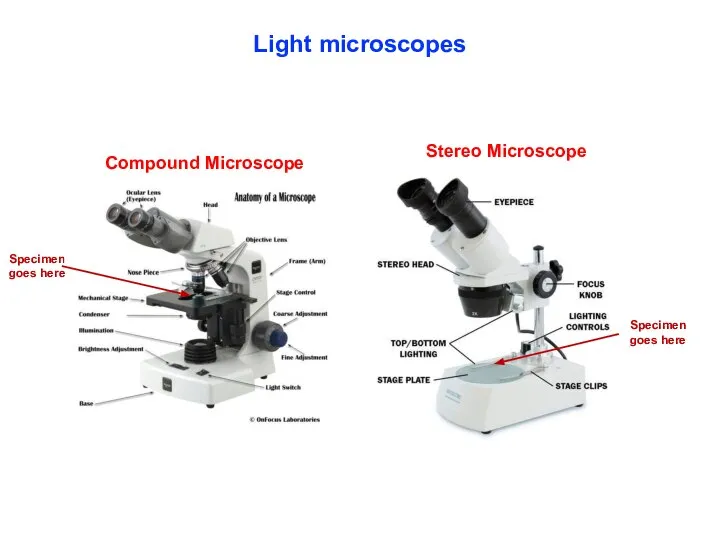
Light microscopes
Compound Microscope
Stereo Microscope
Specimen goes here
Specimen goes here
Light microscopes
Compound Microscope
Stereo Microscope
Specimen goes here
Specimen goes here
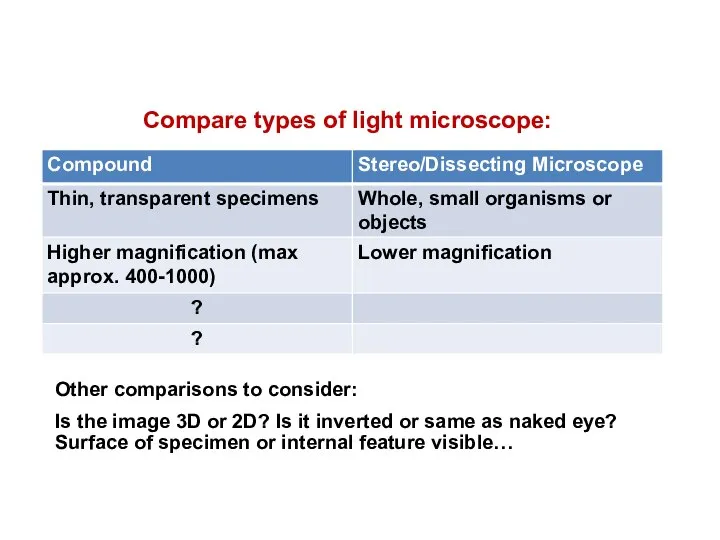
Compare types of light microscope:
Other comparisons to consider:
Is the image 3D
Compare types of light microscope:
Other comparisons to consider:
Is the image 3D
COMPOUND MICROSCOPES
COMPOUND MICROSCOPES
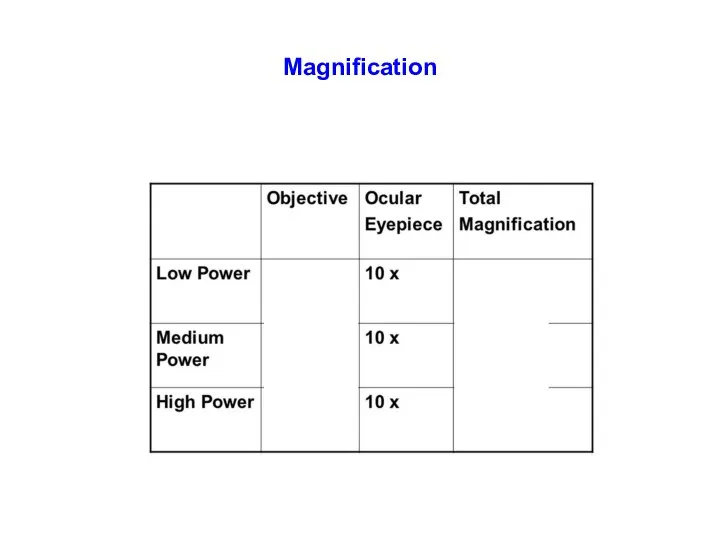
Scanning
Low
High
Magnification
Scanning
Low
High
Magnification
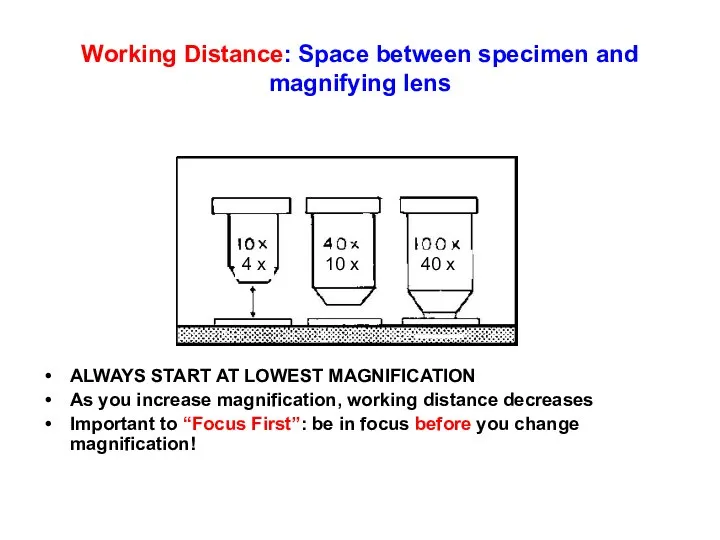
Working Distance: Space between specimen and magnifying lens
ALWAYS START AT LOWEST
Working Distance: Space between specimen and magnifying lens
ALWAYS START AT LOWEST
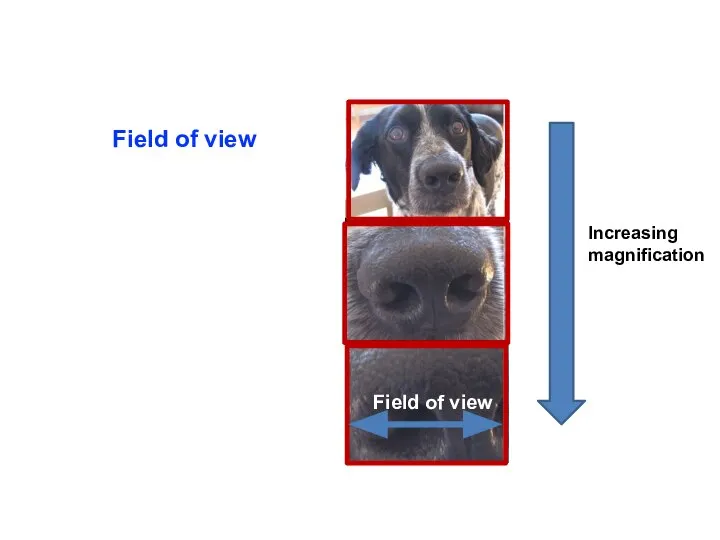
Increasing magnification
Field of view
Field of view
Increasing magnification
Field of view
Field of view
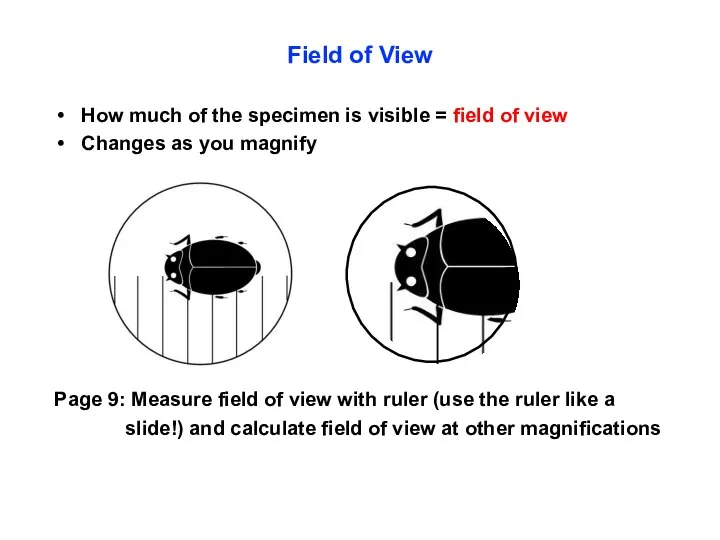
Field of View
How much of the specimen is visible = field
Field of View
How much of the specimen is visible = field
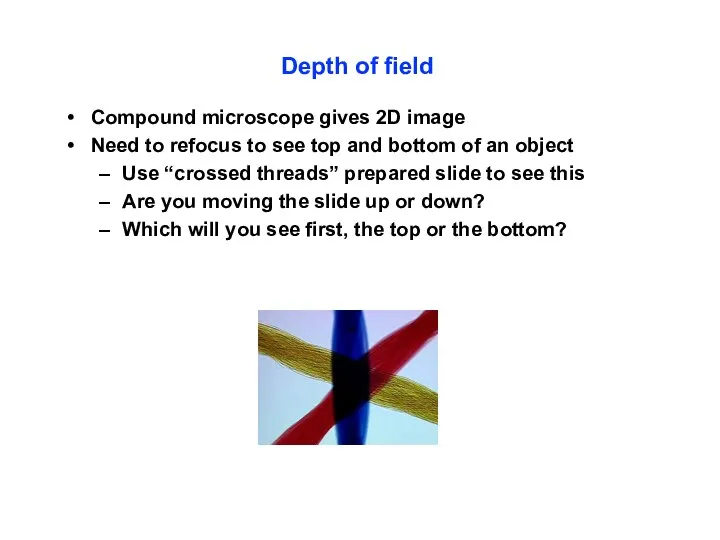
Depth of field
Compound microscope gives 2D image
Need to refocus to see
Depth of field
Compound microscope gives 2D image
Need to refocus to see
Today’s to do list:
Complete all activities in the “Microscopy” lab in
Today’s to do list:
Complete all activities in the “Microscopy” lab in
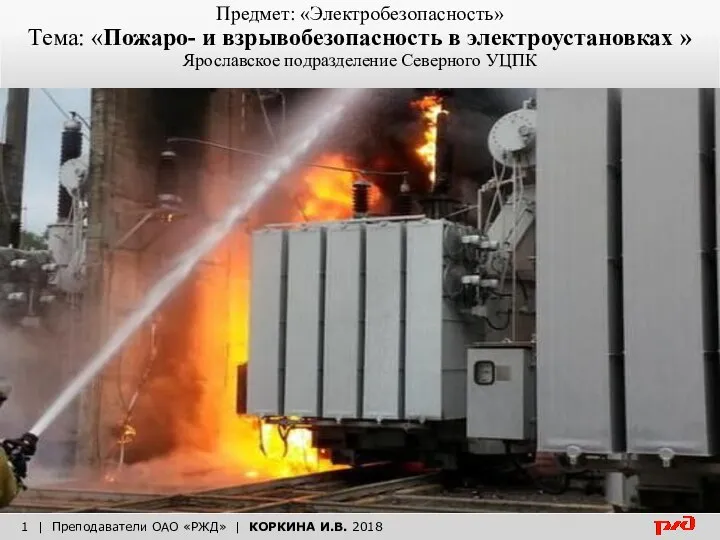 Пожаро- и взрывобезопасность в электроустановках
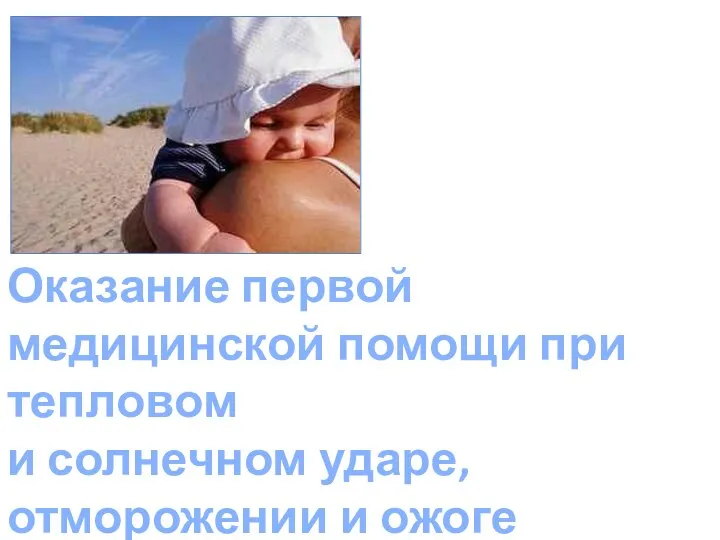 Презентация Оказание первой медицинской помощи при тепловом и солнечном ударе, обморожении и ожоге
  Подготовка к конкурсу «Безопасное колесо»
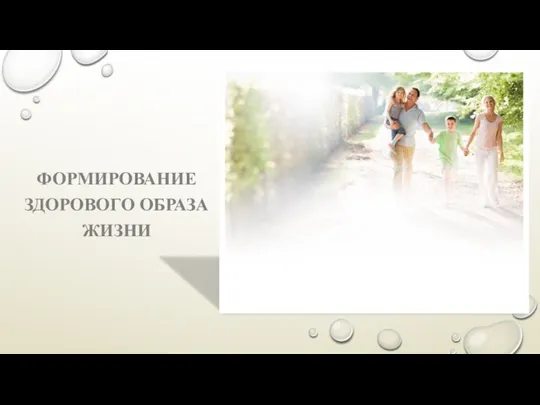 Формирование здорового образа жизни
 Организация совместной деятельности с детьми дошкольного возраста по профилактике детского дорожно-транспортного травматизма
 Электромагнитные волны и здоровье человека
 Алкоголь и наркотики - яд
 Дом, который может стать ловушкой
 Алкоголь и его влияние на здоровье человека
 Оповещения населения при природных ЧС
 Определение ЧС природного и техногенного характера. Причина возникновения чрезвычайной ситуации
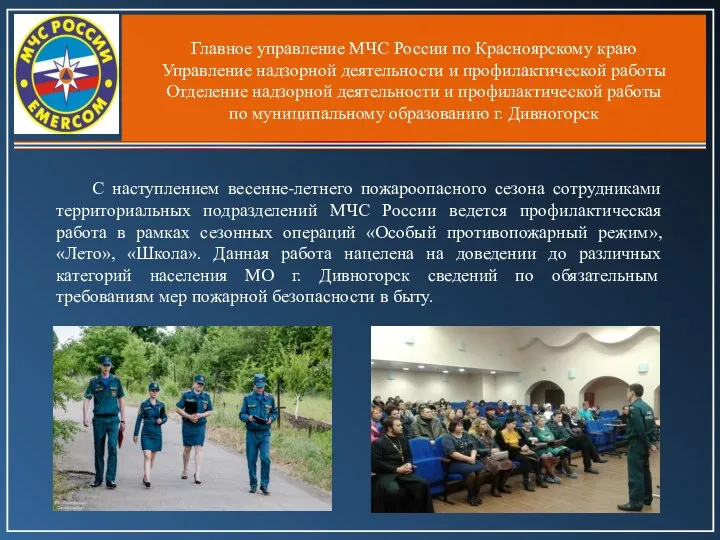 Управление МЧС России по Красноярскому краю
 Световое загрязнение
 Азбука безопасности
 OHS line managers meeting
 Презентация «Я против наркотиков!»
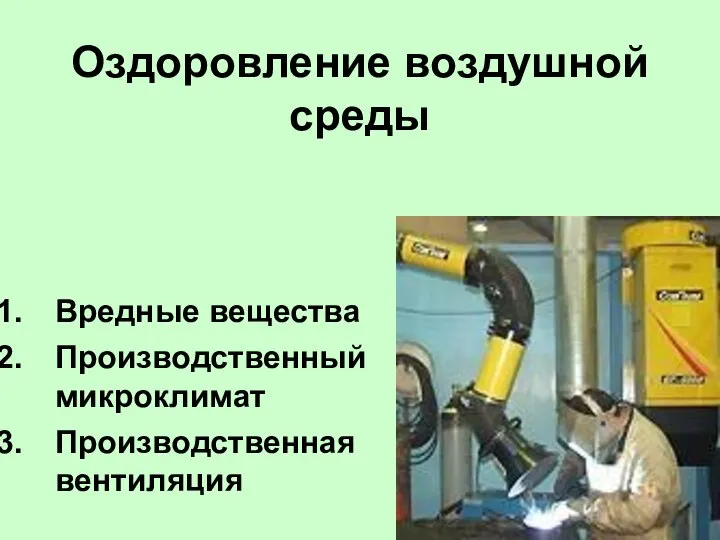 Оздоровление воздушной среды
 Здоровый образ жизни
 Короткое замыкание. Предохранители. Электробезопасность
 Организация санитарно-противоэпидемического обеспечения в чрезвычайных ситуациях
 Формирование у дошкольников основ безопасности жизнедеятельности
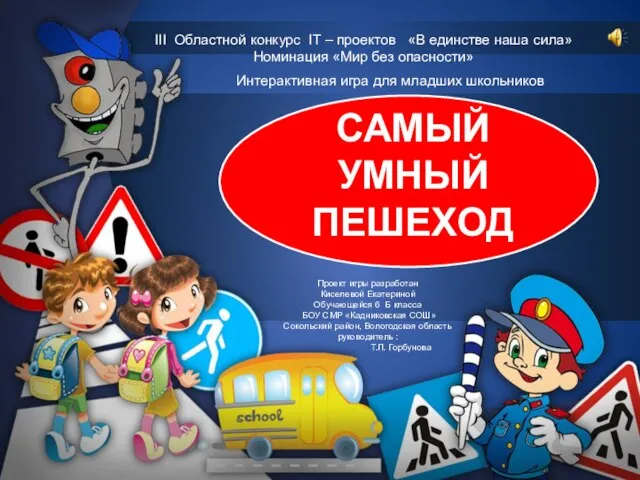 Самый умный пешеход - интерактивная игра для младших школьников
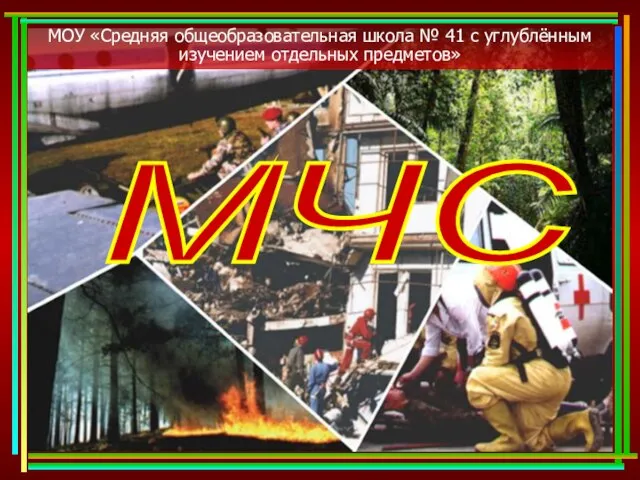 Министерство по делам гражданской обороны и чрезвычайным ситуациям
 Здоровьесберегающие технологии
 Безопасное колесо. Знатоки правил дорожного движения. Тренинг 2
 Безопасные летние каникулы
 Моё безопасное лето
 Случайные опасности