- Install Apache Cassandra on Ubuntu. Work with Cassandra and Python

Содержание
- 2. Week plan 1. What is Cassandra? 2. Install Apache Cassandra on Ubuntu 3. Work with Cassandra
- 3. Tutorial
- 4. What is Cassandra? Apache Cassandra is a top level Apache project born at Facebook and built
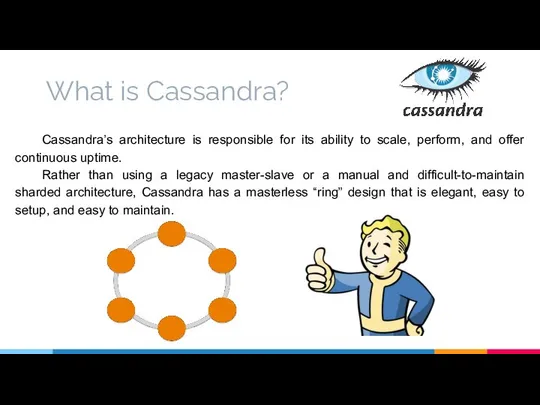
- 5. What is Cassandra? Cassandra’s architecture is responsible for its ability to scale, perform, and offer continuous
- 6. What is Cassandra? In Cassandra, all nodes are equal, which means no master node, no master-slave
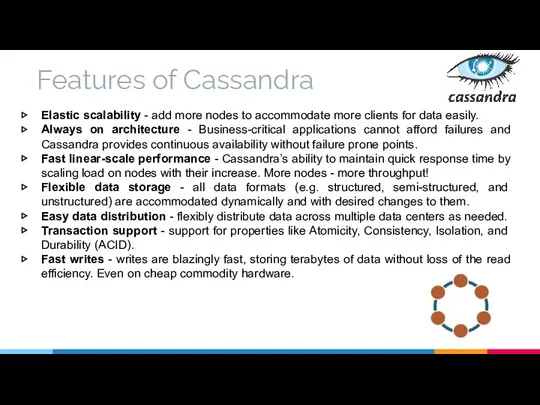
- 7. Elastic scalability - add more nodes to accommodate more clients for data easily. Always on architecture
- 8. With all its shiny parts, Cassandra still has some let downs: A range scan implementation is
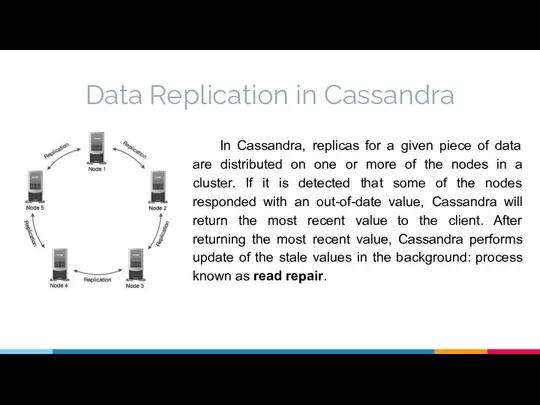
- 9. Data Replication in Cassandra In Cassandra, replicas for a given piece of data are distributed on
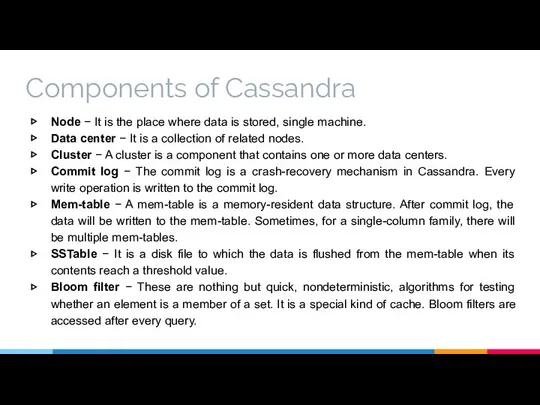
- 10. Components of Cassandra Node − It is the place where data is stored, single machine. Data
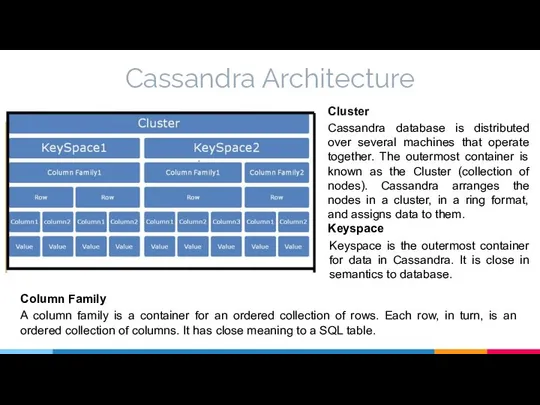
- 11. Cassandra Architecture Cluster Cassandra database is distributed over several machines that operate together. The outermost container
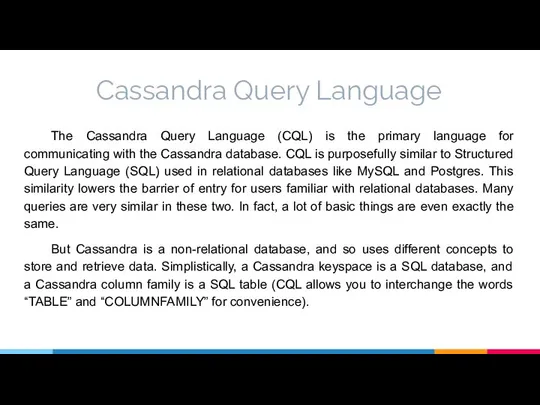
- 12. Cassandra Query Language The Cassandra Query Language (CQL) is the primary language for communicating with the
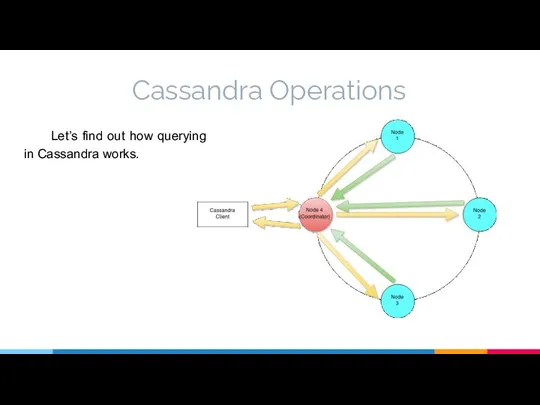
- 13. Cassandra Operations Let’s find out how querying in Cassandra works.
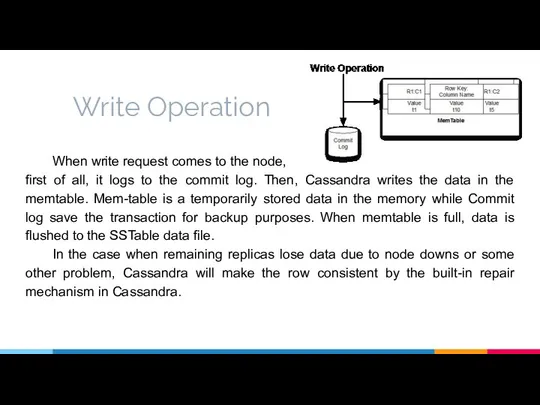
- 14. Write Operation When write request comes to the node, first of all, it logs to the
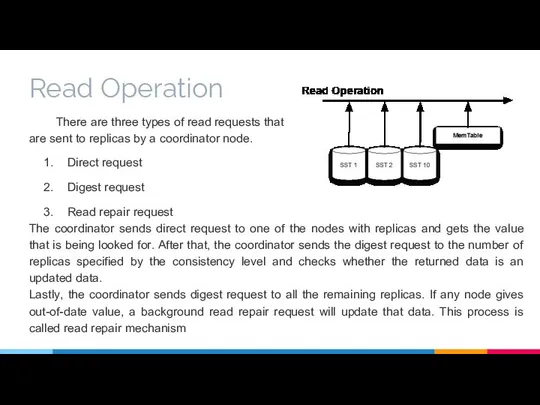
- 15. Read Operation There are three types of read requests that are sent to replicas by a
- 16. Install Java on Ubuntu Before installing Cassandra, make sure that Java is already installed on your
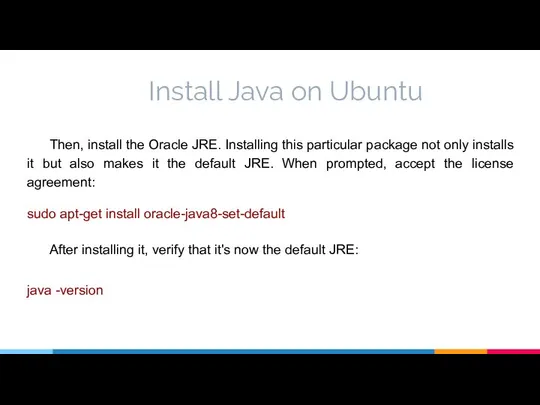
- 17. Install Java on Ubuntu Then, install the Oracle JRE. Installing this particular package not only installs
- 18. Install Apache Cassandra on Ubuntu We will use DataStax Community repository with a few simple steps
- 19. Install Apache Cassandra on Ubuntu 2. Add the DataStax repository key to your aptitude trusted keys
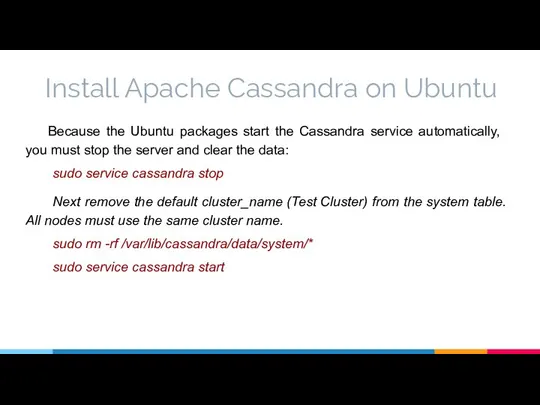
- 20. Install Apache Cassandra on Ubuntu Because the Ubuntu packages start the Cassandra service automatically, you must
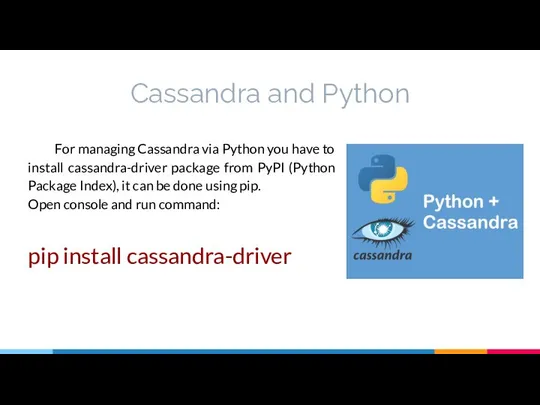
- 21. Cassandra and Python For managing Cassandra via Python you have to install cassandra-driver package from PyPI
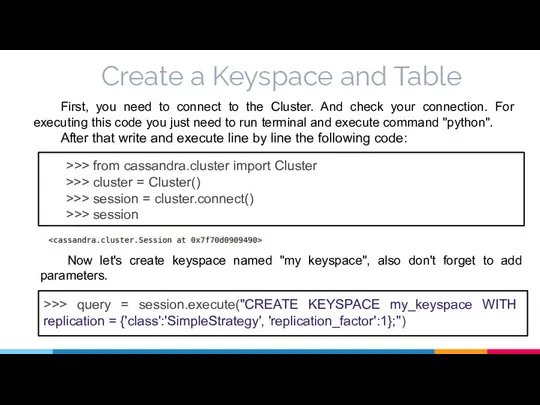
- 22. Create a Keyspace and Table First, you need to connect to the Cluster. And check your
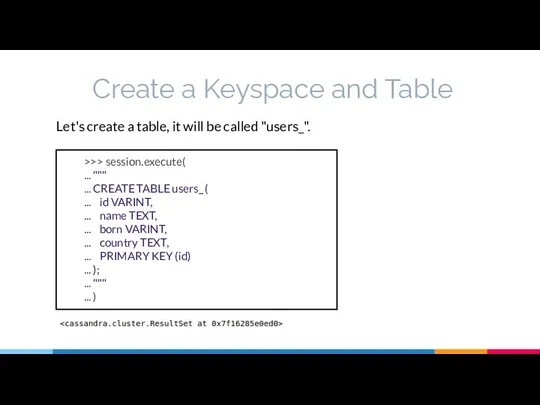
- 23. Create a Keyspace and Table Let's create a table, it will be called "users_". >>> session.execute(
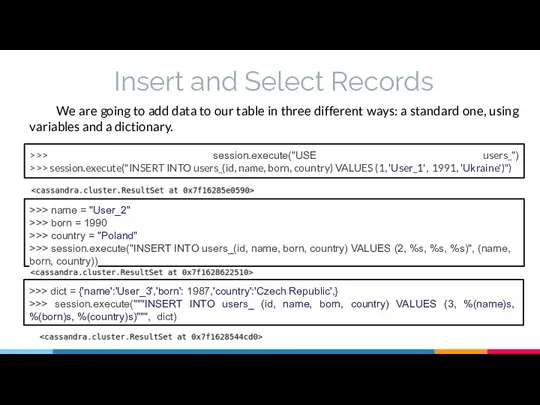
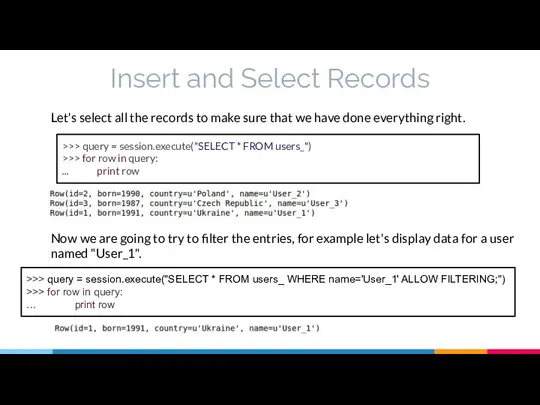
- 24. Insert and Select Records We are going to add data to our table in three different
- 25. Insert and Select Records Let's select all the records to make sure that we have done
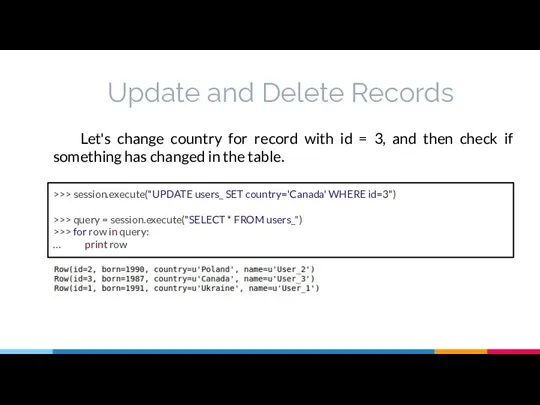
- 26. Update and Delete Records Let's change country for record with id = 3, and then check
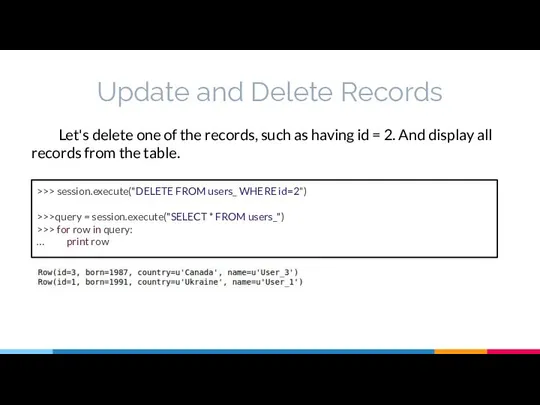
- 27. Update and Delete Records Let's delete one of the records, such as having id = 2.
- 28. Alter Table Modify the column metadata of a table. Adding a column To add a column
- 29. Exercises
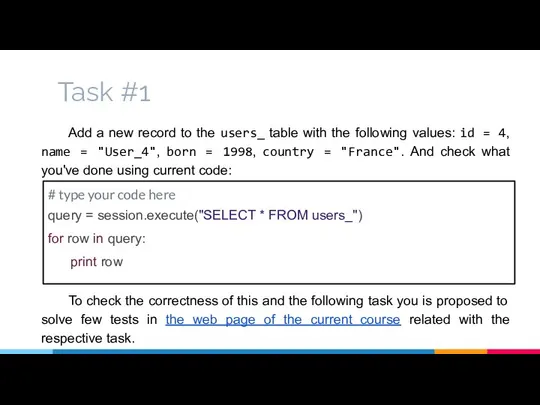
- 30. Task #1 Add a new record to the users_ table with the following values: id =
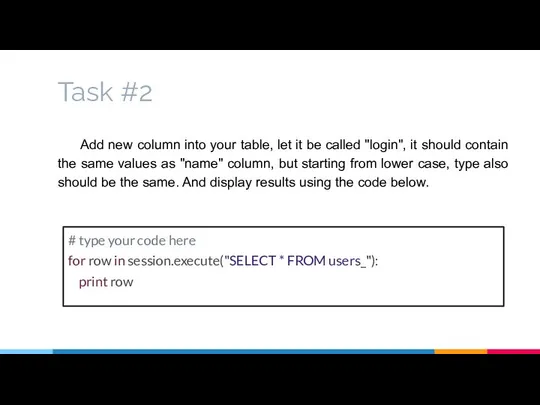
- 31. Task #2 Add new column into your table, let it be called "login", it should contain
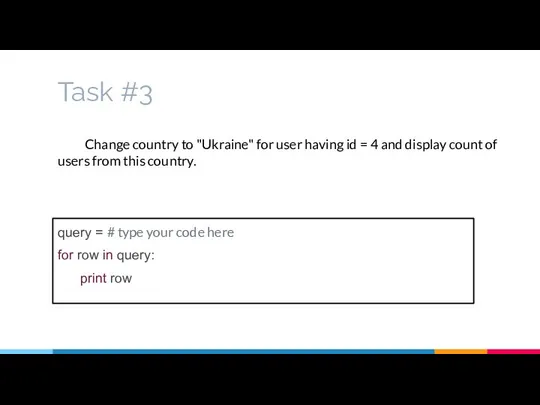
- 32. Task #3 Change country to "Ukraine" for user having id = 4 and display count of
- 34. Скачать презентацию
Week plan
1. What is Cassandra?
2. Install Apache Cassandra on Ubuntu
3. Work
Week plan
1. What is Cassandra?
2. Install Apache Cassandra on Ubuntu
3. Work
Tutorial
Tutorial
What is Cassandra?
Apache Cassandra is a top level Apache project born
What is Cassandra?
Apache Cassandra is a top level Apache project born
What is Cassandra?
Cassandra’s architecture is responsible for its ability to scale,
What is Cassandra?
Cassandra’s architecture is responsible for its ability to scale,
What is Cassandra?
In Cassandra, all nodes are equal, which means no
What is Cassandra?
In Cassandra, all nodes are equal, which means no
Elastic scalability - add more nodes to accommodate more clients for
Elastic scalability - add more nodes to accommodate more clients for
With all its shiny parts, Cassandra still has some let downs:
A
With all its shiny parts, Cassandra still has some let downs:
A
Data Replication in Cassandra
In Cassandra, replicas for a given piece of
Data Replication in Cassandra
In Cassandra, replicas for a given piece of
Components of Cassandra
Node − It is the place where data is
Components of Cassandra
Node − It is the place where data is
Cassandra Architecture
Cluster
Cassandra database is distributed over several machines that operate
Cassandra Architecture
Cluster
Cassandra database is distributed over several machines that operate
Cassandra Query Language
The Cassandra Query Language (CQL) is the primary language
Cassandra Query Language
The Cassandra Query Language (CQL) is the primary language
Cassandra Operations
Let’s find out how querying in Cassandra works.
Cassandra Operations
Let’s find out how querying in Cassandra works.
Write Operation
When write request comes to the node,
first of all,
Write Operation
When write request comes to the node,
first of all,
Read Operation
There are three types of read requests that
are sent
Read Operation
There are three types of read requests that
are sent

Install Java on Ubuntu
Before installing Cassandra, make sure that Java is
Install Java on Ubuntu
Before installing Cassandra, make sure that Java is
Install Java on Ubuntu
Then, install the Oracle JRE. Installing this particular
Install Java on Ubuntu
Then, install the Oracle JRE. Installing this particular

Install Apache Cassandra on Ubuntu
We will use DataStax Community repository
Install Apache Cassandra on Ubuntu
We will use DataStax Community repository

Install Apache Cassandra on Ubuntu
2. Add the DataStax repository key to
Install Apache Cassandra on Ubuntu
2. Add the DataStax repository key to
Install Apache Cassandra on Ubuntu
Because the Ubuntu packages start the Cassandra
Install Apache Cassandra on Ubuntu
Because the Ubuntu packages start the Cassandra
Cassandra and Python
For managing Cassandra via Python you have to install
Cassandra and Python
For managing Cassandra via Python you have to install
Create a Keyspace and Table
First, you need to connect to the
Create a Keyspace and Table
First, you need to connect to the
Create a Keyspace and Table
Let's create a table, it will be
Create a Keyspace and Table
Let's create a table, it will be
Insert and Select Records
We are going to add data to our
Insert and Select Records
We are going to add data to our
Insert and Select Records
Let's select all the records to make sure
Insert and Select Records
Let's select all the records to make sure
Update and Delete Records
Let's change country for record with id =
Update and Delete Records
Let's change country for record with id =
Update and Delete Records
Let's delete one of the records, such as
Update and Delete Records
Let's delete one of the records, such as
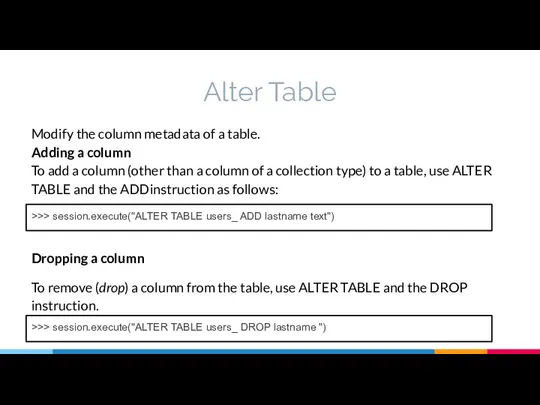
Alter Table
Modify the column metadata of a table.
Adding a column
To add
Alter Table
Modify the column metadata of a table.
Adding a column
To add
Exercises
Exercises
Task #1
Add a new record to the users_ table with the
Task #1
Add a new record to the users_ table with the
Task #2
Add new column into your table, let it be called
Task #2
Add new column into your table, let it be called
Task #3
Change country to "Ukraine" for user having id = 4
Task #3
Change country to "Ukraine" for user having id = 4
 РДУ-99
 Тесты по ОТМ для текущего контроля
 «Умные» вещи в современном мире
 Планирование буровых работ
 Презентация Татаро-монгольское нашествие, его социально-экономическое и политическое последствие
 Эффективность управленческого решения. Методы оценки эффективности управленческого решения
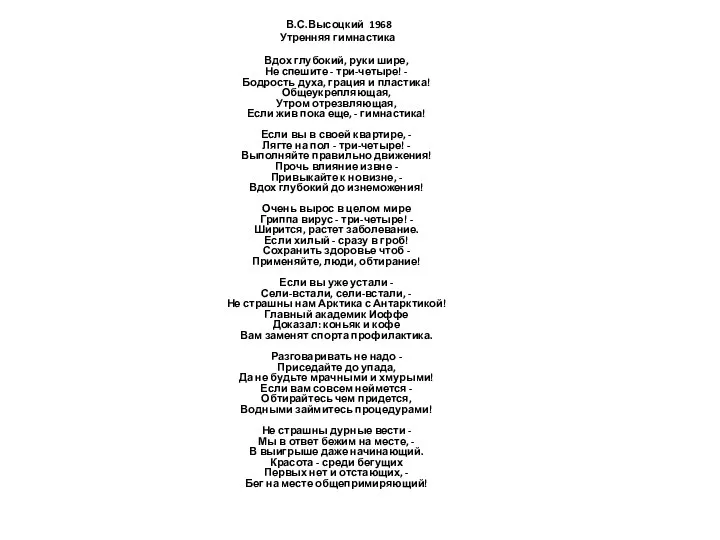 Здоровый образ жизни
 Я і мае сябры. Заняткі ў вольны час. (Тэма 13)
 Беседа с иностранцем: традиции, обычаи, приметы, нормы поведения
 Социологическое исследование: «Оценка политической активности граждан РФ»
 История гимнастики
 Разработка техпроцесса восстановления зубчатого колеса ткацкого станка
 Пожарная опасность веществ
  Типы и конструкции микроэлектромеханических систем. Сенсоры. Классификация сенсоров
 Олимпийские игра в древности
 Сказочная гжель
 сп м н
 Политические партии
 Понятие, структура и полномочия ОВД Коваленко Н.А. ЮБ-1404
  Тайм-менеджменттің
 Обобщающий урок по теме «Линейная функция»
 Ремонт блока цилиндров
 Графические возможности Pascal
 Государственная регистрация недвижимости Подготовила: Студентка группы Юб03/1303 Джаббарова Вероника
 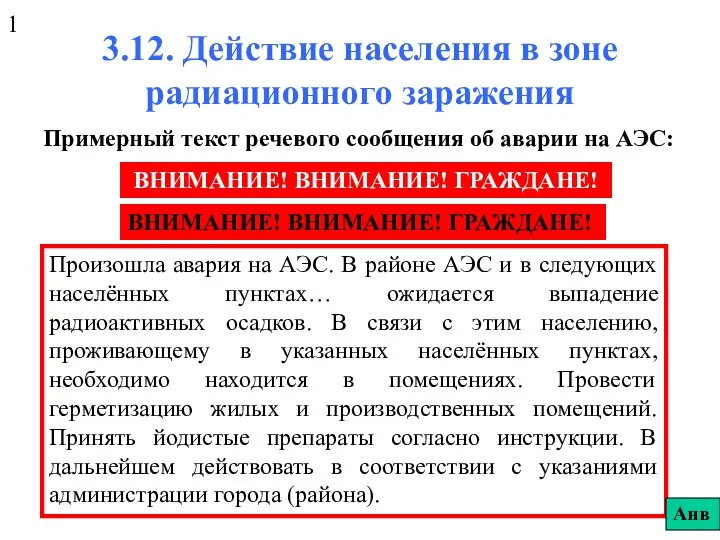 Действие населения в зоне радиационного заражения
 Расчёт корреляционных функций и свёртки дискретных сигналов
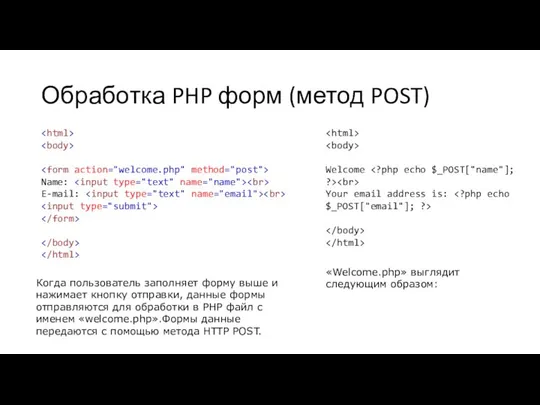 Обработка PHP форм (метод POST)
 Слово и его значение