- WUWOW Meeting Center (WMC) Training

Содержание
- 2. Important reminders Teachers must ACCESS the class 15 mins. prior for the first class of the
- 3. Download WMC Log onto Taichi – go to the “Training” tab, select “WUWOW Meeting Center Download”
- 4. WUWOW Meeting Center Menu – WMC menu Mute – mute your mic Presenter – to be
- 5. Menu Cloud Classroom – System information, this reflects who has entered the room and what you
- 6. Share & More Share – a. Share Entire Desktop b. Share Desktop range – you can
- 7. Share – when you Share Desktop, you can also select Share Desktop Range which you can
- 8. Attendees Attendees – Shows the names of your students. Shows the number of attendees in the
- 9. Documents, Chat, Layout Documents – Shows the materials that have been saved into the classroom Chat
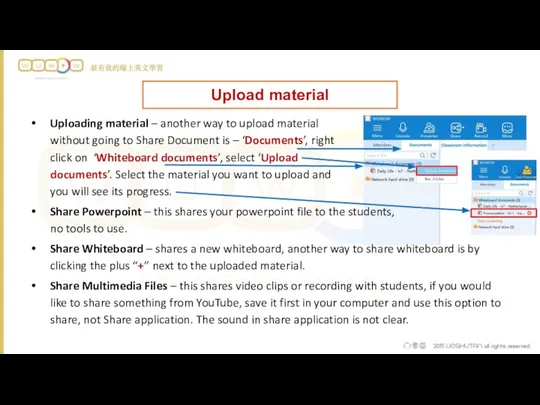
- 10. Upload material Share Powerpoint – this shares your powerpoint file to the students, no tools to
- 12. Скачать презентацию
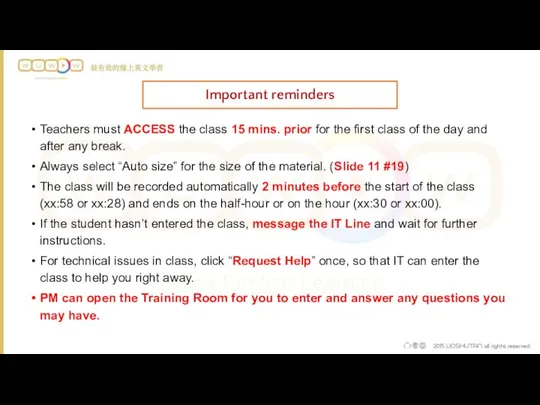
Important reminders
Teachers must ACCESS the class 15 mins. prior for the
Important reminders
Teachers must ACCESS the class 15 mins. prior for the
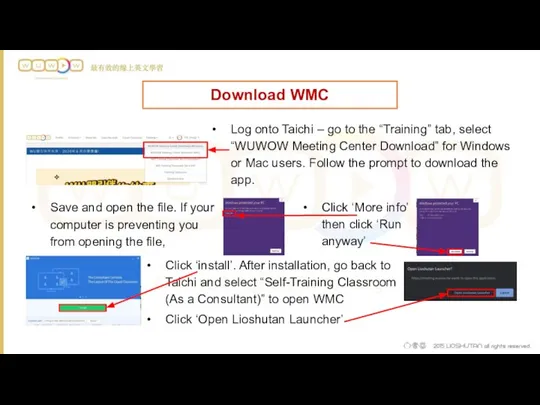
Download WMC
Log onto Taichi – go to the “Training” tab, select
Download WMC
Log onto Taichi – go to the “Training” tab, select
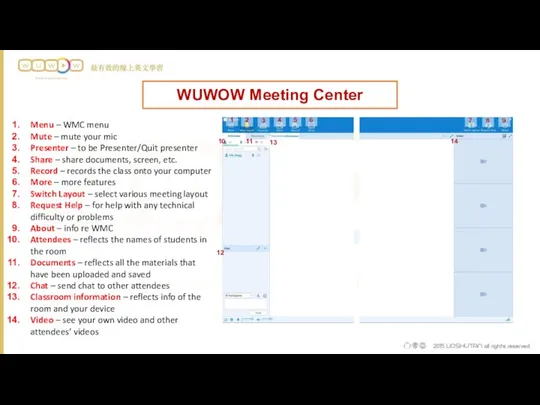
WUWOW Meeting Center
Menu – WMC menu
Mute – mute your mic
Presenter –
WUWOW Meeting Center
Menu – WMC menu
Mute – mute your mic
Presenter –
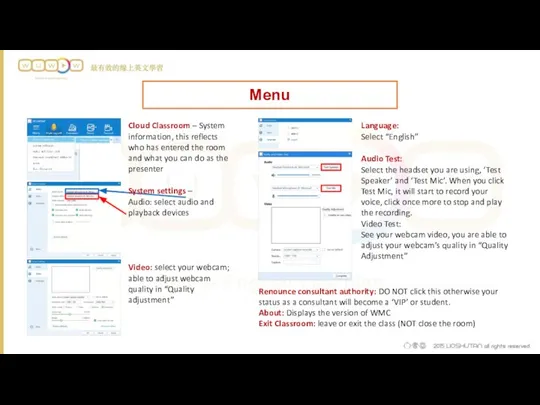
Menu
Cloud Classroom – System information, this reflects who has entered the
Menu
Cloud Classroom – System information, this reflects who has entered the
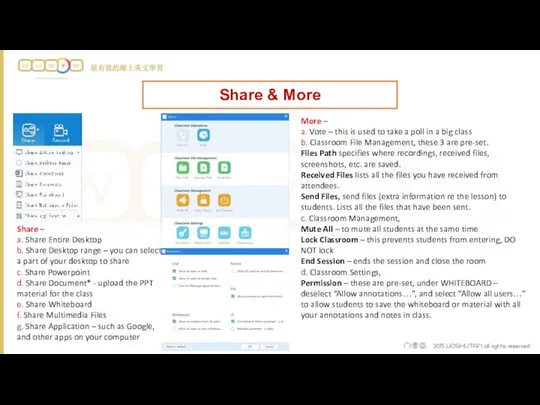
Share & More
Share –
a. Share Entire Desktop
b. Share Desktop range
Share & More
Share – a. Share Entire Desktop b. Share Desktop range
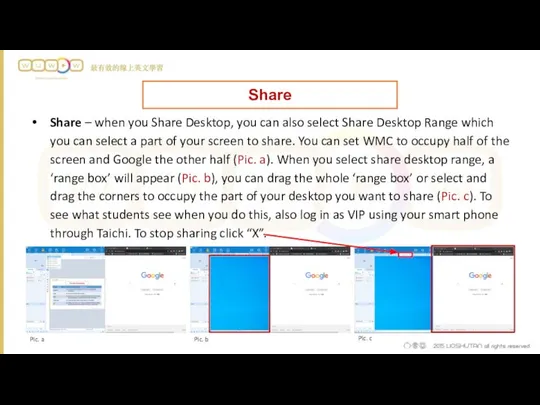
Share – when you Share Desktop, you can also select Share
Share – when you Share Desktop, you can also select Share
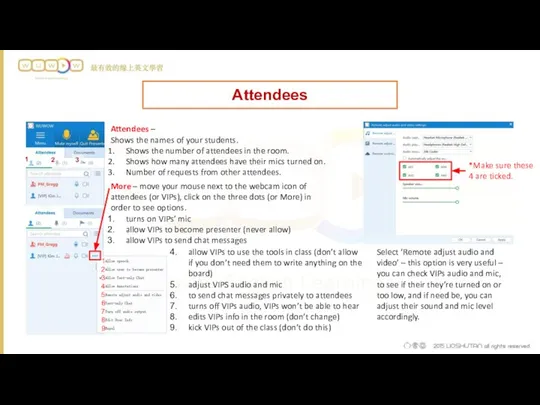
Attendees
Attendees –
Shows the names of your students.
Shows the number
Attendees
Attendees –
Shows the names of your students.
Shows the number
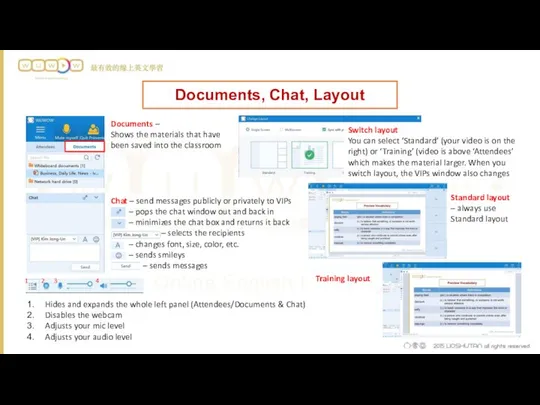
Documents, Chat, Layout
Documents –
Shows the materials that have been saved
Documents, Chat, Layout
Documents – Shows the materials that have been saved
Upload material
Share Powerpoint – this shares your powerpoint file to the
Upload material
Share Powerpoint – this shares your powerpoint file to the
 Учусь создавать презентации. (Лекция 6)
 Одномерные массивы
 Циклические коды
 Презентация "Язык Pascal" - скачать презентации по Информатике
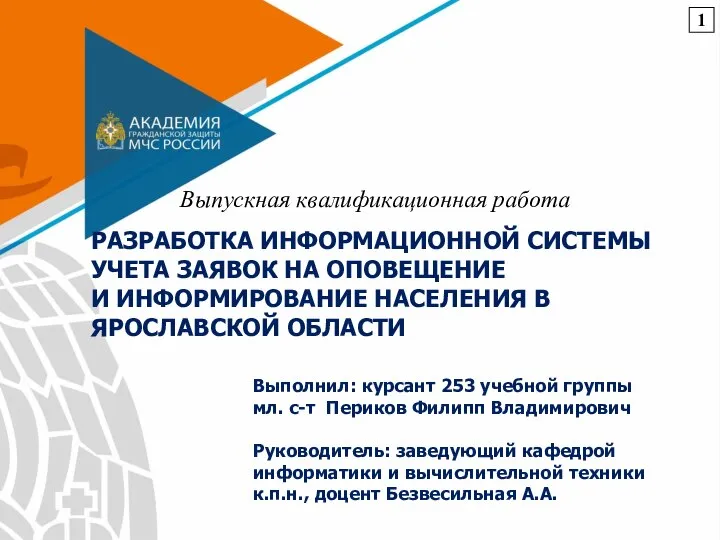 Разработка информационной системы учета заявок на оповещение и информирование населения в Ярославской области
 Комбинаторика для начинающих
 Типы информационных моделей Информационная модель — это описание объекта.
  Detect+
 Life-cycle phases from software project Мanagement by walker royce of IBM. (Chapter 5)
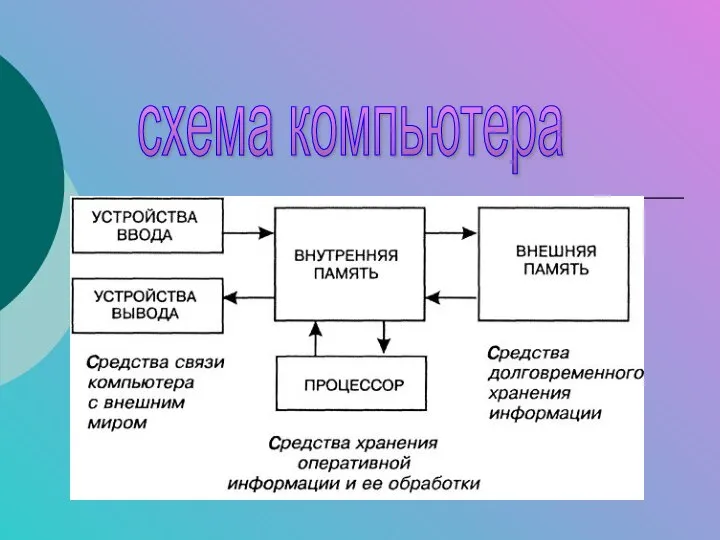 Схема компьютера
 Основы языка программирования JAVA. Циклы
 Презентация "Криптографические основы безопасности" - скачать презентации по Информатике
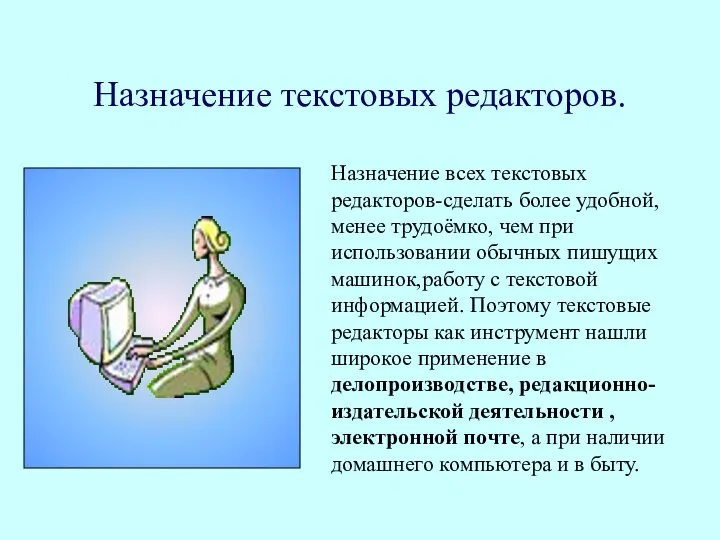 Назначение текстовых редакторов. Назначение всех текстовых редакторов-сделать более удобной, менее трудоёмко, чем при использова
 Логические рассуждения. Информатика в играх и задачах (4 класс)
 Система технологического моделирования и обучения персонала АЙТИ-СТМ
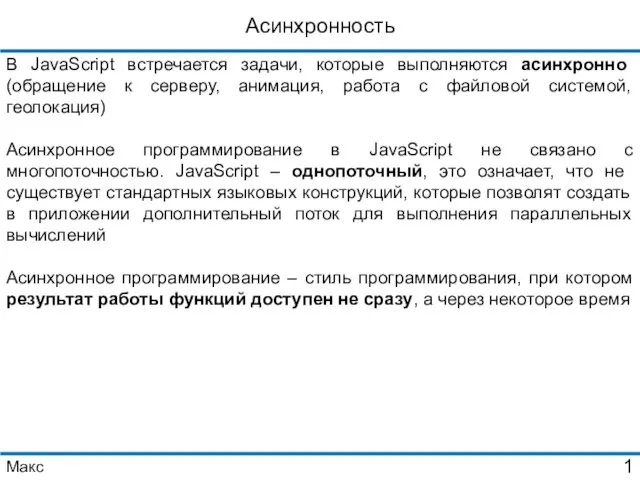 Асинхронное программирование
 Геометрическая модель железнодорожного моста в CADсистеме
 Игра на Javascript
 Введение в Java
 Модели распределенных баз данных
 ВКР: Разработка проекта ЛВС для компании ООО Балтик Стайл
 Виртуальный мир – окно в параллельную реальность
 Databázové systémy
 Минимальная конфигурация компьютера
 Cals-технологии в САПР
 IMEI Writing Guide
 Моделирование как метод познания Моделирование – это метод познания, состоящий в создании и исследовании моделей
 Пользовательский интерфейс