- Создание загрузчика. Загрузчик Hello World

Содержание
- 2. Где загрузчик распологается в памяти: По адресу 7C00h Int 10h: Это прерывание BIOSа для управлением экраном.
- 3. Установка загрузчика 1. Сохранить загрузчик как boot.asm 2. Откомпилировать: nasm boot.asm 3. Убедиться что длина 512
- 4. Создание загрузчика. 1 попытка Hanging Bootloader Этот загрузчик ничего не делает просто распределяет память и виснет.
- 5. Вторая попытка:Print a character Bootloader INT 0x10 это BIOS прерывание экрана. AL = ASCII ;значение символа
- 6. [BITS 16] ;Tells the assembler that its a 16 bit code [ORG 0x7C00];Origin,tell the assembler that
- 7. [BITS 16] ; 16 bit code generation [ORG 0x7C00] ; ORGin location is 7C00 ;Main program
- 8. jmp $ ; Put it into a coninuous loop to stop it running off into ;
- 9. Hello World! -загрузчик [BITS 16] ; 16 bit code generation [ORG 0x7C00] ; Origin location ;
- 10. ; Procedures PutStr: ; Procedure label/start ; Set up the registers for the interrupt call mov
- 11. .nextchar ; Internal label (needed to loop round for the next character) lodsb ; I think
- 12. ; Data HelloWorld db 'Hello World',13,10,0 ; End Matter times 510-($-$$) db 0 ; Fill the
- 13. Компилируем загрузчик в простой bin формат: (для windows: nasmw boot.asm -f bin -o boot.bin ) Для
- 14. Создаём папку iso mkdir iso Копируем в неё образ: cp floppy.img iso/ Создаём iso образ: genisoimage
- 16. Скачать презентацию
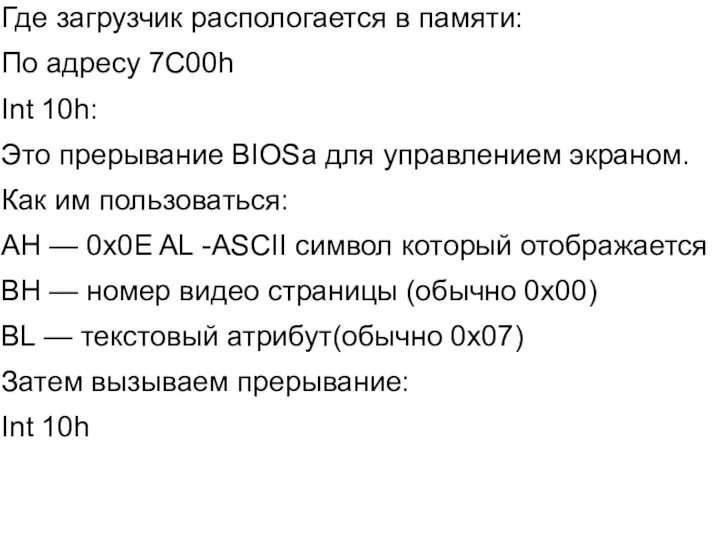
Где загрузчик распологается в памяти:
По адресу 7C00h
Int 10h:
Это прерывание BIOSа для
Где загрузчик распологается в памяти:
По адресу 7C00h
Int 10h:
Это прерывание BIOSа для
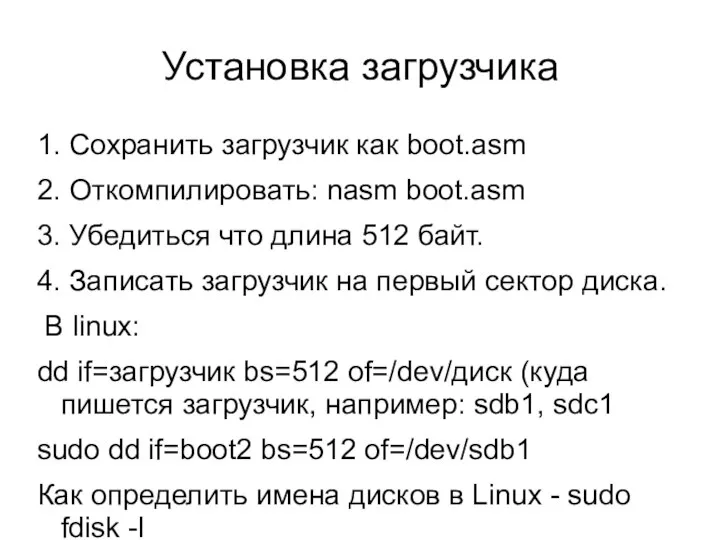
Установка загрузчика
1. Сохранить загрузчик как boot.asm
2. Откомпилировать: nasm boot.asm
3. Убедиться что
Установка загрузчика
1. Сохранить загрузчик как boot.asm
2. Откомпилировать: nasm boot.asm
3. Убедиться что

Создание загрузчика.
1 попытка
Hanging Bootloader
Этот загрузчик ничего не делает просто распределяет
Создание загрузчика.
1 попытка
Hanging Bootloader
Этот загрузчик ничего не делает просто распределяет
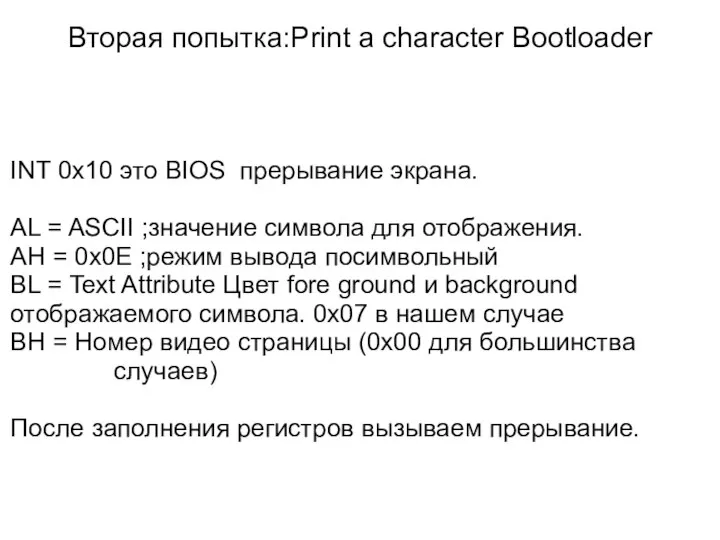
Вторая попытка:Print a character Bootloader
INT 0x10 это BIOS прерывание экрана.
AL
Вторая попытка:Print a character Bootloader
INT 0x10 это BIOS прерывание экрана.
AL
![[BITS 16] ;Tells the assembler that its a 16 bit code](/_ipx/f_webp&q_80&fit_contain&s_1440x1080/imagesDir/jpg/630328/slide-5.jpg)
[BITS 16] ;Tells the assembler that its a 16 bit code
[ORG
[BITS 16] ;Tells the assembler that its a 16 bit code
[ORG
![[BITS 16] ; 16 bit code generation [ORG 0x7C00] ; ORGin](/_ipx/f_webp&q_80&fit_contain&s_1440x1080/imagesDir/jpg/630328/slide-6.jpg)
[BITS 16] ; 16 bit code generation
[ORG 0x7C00] ; ORGin location
[BITS 16] ; 16 bit code generation
[ORG 0x7C00] ; ORGin location
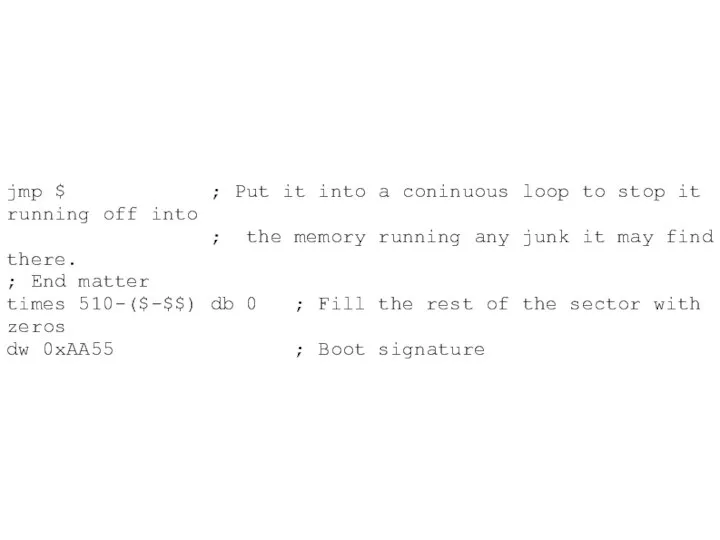
jmp $ ; Put it into a coninuous loop to stop
jmp $ ; Put it into a coninuous loop to stop
![Hello World! -загрузчик [BITS 16] ; 16 bit code generation [ORG](/_ipx/f_webp&q_80&fit_contain&s_1440x1080/imagesDir/jpg/630328/slide-8.jpg)
Hello World! -загрузчик
[BITS 16] ; 16 bit code generation
[ORG 0x7C00] ;
Hello World! -загрузчик
[BITS 16] ; 16 bit code generation
[ORG 0x7C00] ;
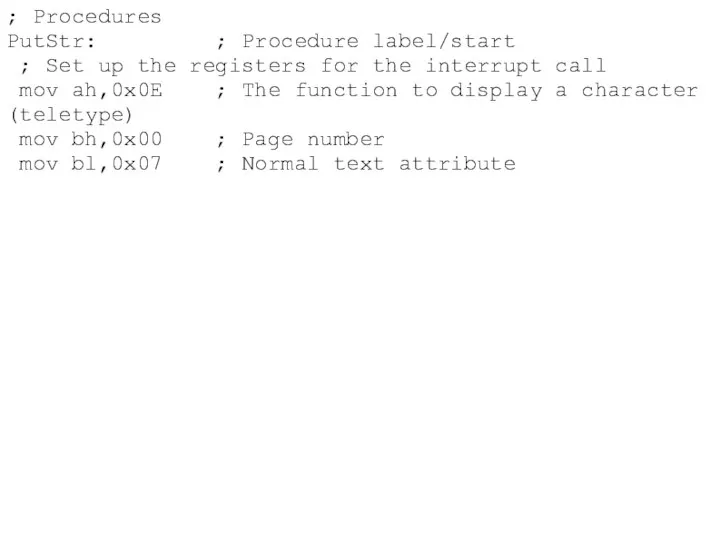
; Procedures
PutStr: ; Procedure label/start
; Set up the registers for
; Procedures
PutStr: ; Procedure label/start
; Set up the registers for
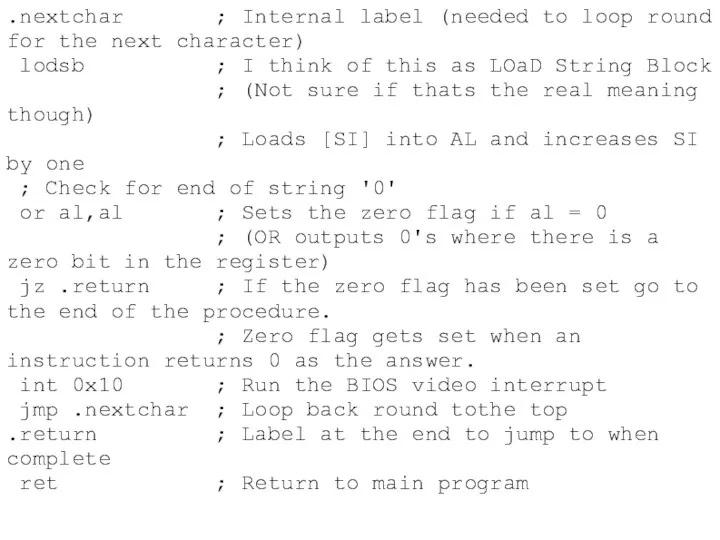
.nextchar ; Internal label (needed to loop round for the next
.nextchar ; Internal label (needed to loop round for the next
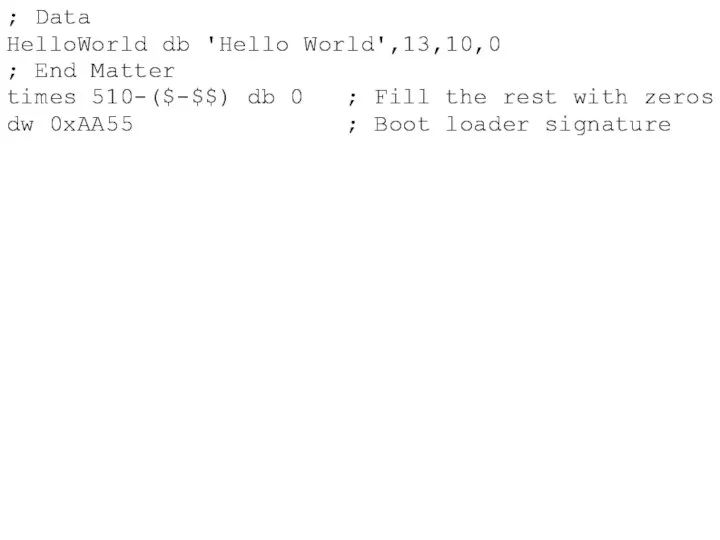
; Data
HelloWorld db 'Hello World',13,10,0
; End Matter
times 510-($-$$) db 0 ;
; Data
HelloWorld db 'Hello World',13,10,0
; End Matter
times 510-($-$$) db 0 ;
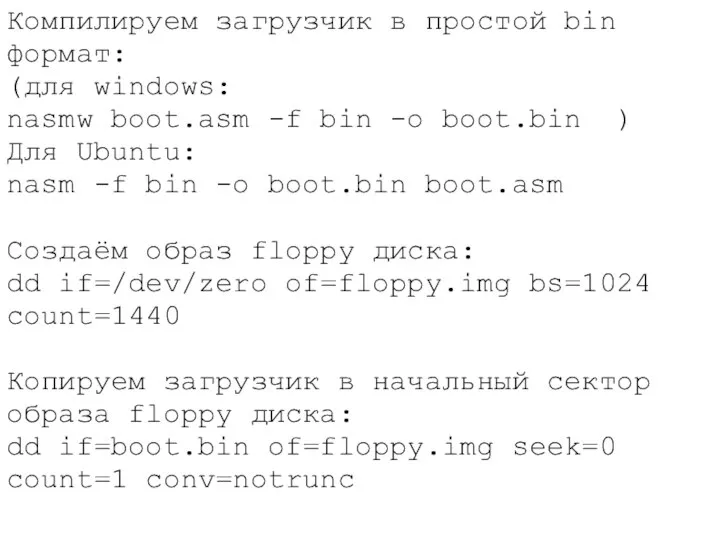
Компилируем загрузчик в простой bin формат:
(для windows:
nasmw boot.asm -f bin -o
Компилируем загрузчик в простой bin формат:
(для windows:
nasmw boot.asm -f bin -o
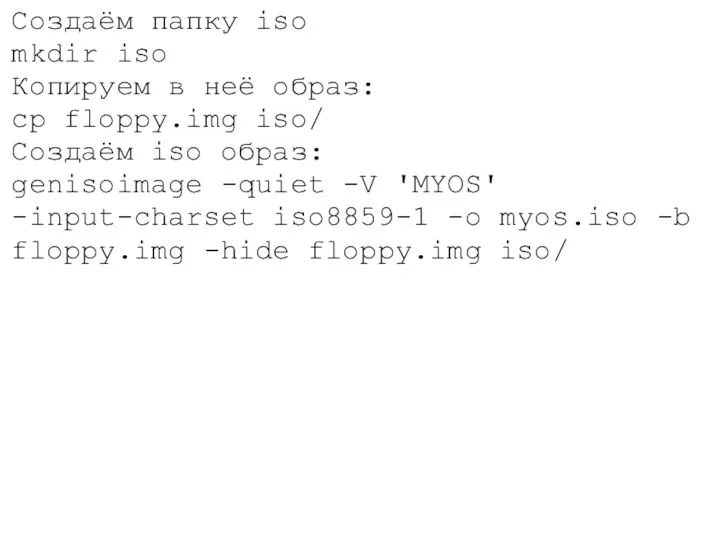
Создаём папку iso
mkdir iso
Копируем в неё образ:
cp floppy.img iso/
Создаём iso образ:
genisoimage
Создаём папку iso
mkdir iso
Копируем в неё образ:
cp floppy.img iso/
Создаём iso образ:
genisoimage
 Elegant objects in W2MO
 Текстовый редактор Microsoft Word
 Современная медиасистема России
 Автоматизированная система управления
 Инструкция по удаленному подключению ЗКВС. Казначейство России
 Обработка и хранение информации
 Табличные информационные модели
 Дипломная работа
 Маршрутизация и транспортировка данных
 Специальность программист, глазами первокурсника
 Веб-разработка с нуля
 Повторение и обобщение материала по теме Информационное моделирование
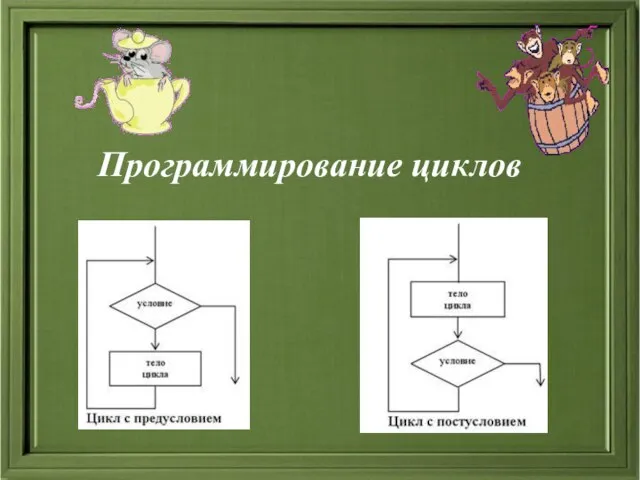 Программирование циклов
 Защита файлов и управление доступом к ним. Борисов В.А. Красноармейский филиал ГОУ ВПО «Академия народного хозяйства при Прави
 Добро пожаловать на конференцию Яндекса
 Специфика работы веб-студии в среднем ценовом сегменте
 Школу программирования Кодики. Программирование для детей. Среда разработки Scratch. Создание игры Змейка
 Презентация "Windows 7" - скачать презентации по Информатике
 Понятие информации. Информационные процессы и технологии. Лекция 1
 Тайнопись или основы криптографии
 Инструкция о порядке и очередности создания документов в 1С по методике начисления
 Основы css. Обтекание и позиция
 Алгоритмическая конструкция повторение. Цикл с заданным условием продолжения работы
 Электронные магазины
 96751
96751 Анимация в презентации Создание солнечной системы.
 Информация и информационное обеспечение управленческих решений
 Метод координат. Морской бой