- Medica Corporation EasyRA Service Training

Содержание
- 2. Reagents-Instructions for use Note: Check the inside of the neck of the wedge for foam after
- 3. Calcium The calibration interval (14 days maximum) is programmed on the RFID chip on the reagent
- 4. CO2 & ALP Keep the reagent tightly closed when not in use. When used in this
- 5. Total Protein The reagent is stable on-board in the refrigerated reagent area of the Medica EasyRA
- 6. The “Debug Mode” When Medica Technical Support says “Yes” or when additional troubleshooting is required. Additional
- 14. System Status Condition of key system components Reaction Chamber Pre-Heater Reaction Chamber Cover Reagent Chamber Cover
- 16. An error code appears-Now What ??? Reset Hardware Locate the subsystem in question and perform Diagnostic
- 17. Investigate the Code – OM 11.2 A five digit alphanumeric string having the form axxyz a
- 18. Possible Values for Hardware Errors a = transfer arm r = Reaction Area/Cuvette Wheel d =
- 19. Hardware Error Examples (OM sec 11.3) a0001- Transfer probe failure to find home. Check for object
- 20. System Error Codes P0124 – Empty Sample Cup “ Check Sample at position 1” ID0001- Turned
- 21. System Error Codes S0001- S0002 – Sample Wheel Home and Position errors ( #1 home, #2
- 22. System Error Codes P0124 – Empty Sample Cup “ Check Sample at position 1” ID0001- Turned
- 23. Let’s break that code down! P2304 P=Probe 23=position# 0=R2, 1=R1, 2=Sample, 3=Wash,4=ISE, 5= test/cuvette 4= Bump
- 24. Running Tests after a System Error System beeps to alert you of the error Window appears
- 25. Recovering Cancelled Tests If you end the run, all tests that are in process are cancelled
- 26. Legend of Results Flag codes To view the legend touch the Flag icon on the results
- 29. Measurement Problems They occur during the measurement phase of the test The may affect the resulted
- 30. Measurement Problems- OM 11.11 Chemistries affected Abbreviation Meaning Troubleshooting & Recovery
- 31. Measurement Problems/Flags Appear in the Results Screen on the left side of the Flags column (
- 32. Measurement Flags AS- Air in Sample (ISE”S) Short Sample Clot in sample CD- Calibrator Deviation CV
- 35. Measurement flag- SD (OM Table 11.2) Substrate Depletion - Reagent ran out of substrate for enzymes
- 36. Range Errors User defined pre-set ranges for: QC Ranges - error code = QC Normal Ranges
- 38. Maintenance OM Section 10 Daily Weekly Monthly 6 months As needed EasyRA UI with OM assistance
- 39. Diagnostics EasyRA UI Service software (omit precision dye) ECData
- 40. Diagnostics in Reaction Area Transfer Arm/Probe Fluidics Drawer/ISE’s Reagent Sample Area Note: These diagnostic tests are
- 41. Diagnostics – Reaction area Photometer test The voltage output of the Read and Reference photodiodes The
- 42. Diagnostics – Transfer Arm/Probe Arm Positioning Probe positioning Liquid Level Sensing Let’s do it now!~ OM
- 43. Diagnostics – Fluidics Drawer Dilutor Pump – dilutor pump error or precision test failed/ QC “noisy”
- 44. Diagnostics – Reagent/Sample Area Sample Wheel Barcode Reader RFID Reader Let’s do it! OM pg 11.55
- 45. Precision Test – OM 11.67 The most important test on the An indicator of the performance
- 46. What if my precision test fails?? Check dilutor fittings on the right side of the dilutor
- 47. EasyRA Best Practices Cals Controls Water Reagents Evaporation Environmental E-mail ECData
- 48. Service Training Special Tools Required and supplied by Medica
- 49. Alignment Cuvette Segment Photometer/Liquid level sense/temp cal
- 50. Wash Cup Alignment Tool
- 51. Sample Alignment Tool
- 52. Reagent Wedge Alignment Assembly
- 53. Digital Thermometer
- 54. Two Thermistors
- 55. Foam Insulation Ring
- 56. RFID Test Fixture/Wedge
- 57. Reagent Wedge Base Tool (shim)
- 58. Barcode Test Fixture
- 59. Adjustment Tool for Inductor Liquid level Sensor
- 60. Digital Multimeter with Frequency Counter
- 61. Duct Tape
- 62. Service Software CD
- 63. Service Software Fluidics Drawer – ISE’s Sample/Reagent Area Reaction Area Photometer Mother Board & Daughter Board
- 65. Fluidics Drawer / ISE’s ISE replacement - OM Wash Cup replacement – OM ISE Module replacement
- 66. Dilutor Pump Replacement
- 67. Dilutor Pump Replacement
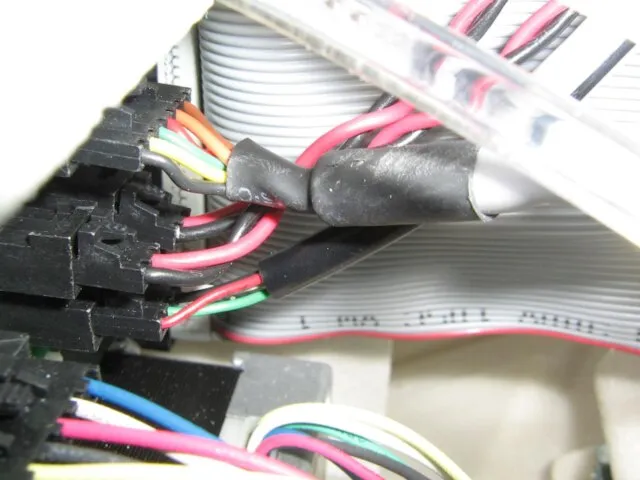
- 68. Dilutor Pump removal
- 70. Dilutor Pump removal
- 71. Dilutor Pump Replacement
- 72. Dilutor Pump Replacement
- 73. Peri Pump Replacement
- 74. Peri Pump Replacement ISE Module pg29
- 75. ISE Module Replacement
- 76. ISE Module Interface Cable Removal
- 77. ISE Fluidics Drawer
- 78. Sample Reagent Area Sample/Reagent Drive Assembly Fan Assembly (below coolers) RFID Reader ISE Fan Assembly Barcode
- 79. Insulation Cap & Ring
- 80. Sample Reagent Drive Assembly
- 81. S/R Drive Assembly Removal Service Manual
- 82. RFID Reader replacement
- 83. Sample Reagent Area ISE Fan Assembly Barcode Reader Transfer Arm Assembly NOTE! Remove Mid chassis cover
- 84. Removing the Mid Chassis & Parking Cover allows you to……. Remove/replace the ISE fan assembly Remove/replace
- 85. Mid Chassis/Park Cover Removal
- 86. ISE Fan
- 87. Transfer Arm Assembly
- 88. After replacing the Transfer Arm Assembly you must……. Perform an Alignment Perform Liquid Level Sense Calibration
- 89. Reaction Area – Service Manual Reaction Area Drive Assembly Reaction Area Fan/Heater Assembly Reaction Area Thermistor
- 90. After Replacing the Fan and or Thermistor You must…… Perform a Temperature calibration of the Reaction
- 91. Photometer Replacement
- 92. Photometer – Service Manual
- 93. Photometer – Service Manual
- 94. Check Voltages on PCB’s
- 96. Скачать презентацию
Reagents-Instructions for use
Note: Check the inside of the neck of
Reagents-Instructions for use
Note: Check the inside of the neck of

Calcium
The calibration interval (14 days maximum) is programmed on the
Calcium
The calibration interval (14 days maximum) is programmed on the
CO2 & ALP
Keep the reagent tightly closed when not
CO2 & ALP
Keep the reagent tightly closed when not
Total Protein
The reagent is stable on-board in the refrigerated reagent
Total Protein
The reagent is stable on-board in the refrigerated reagent
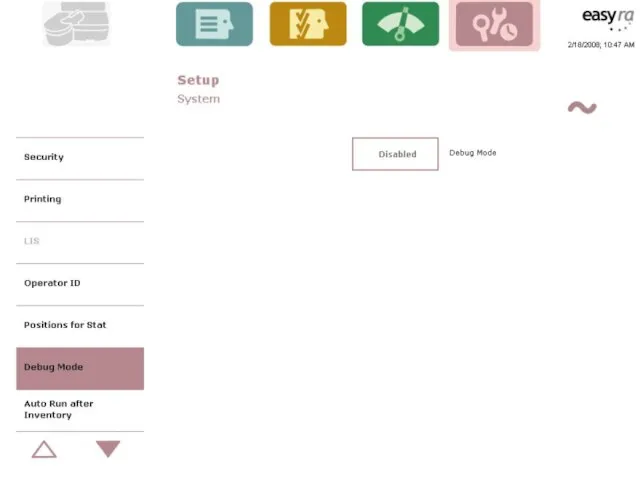
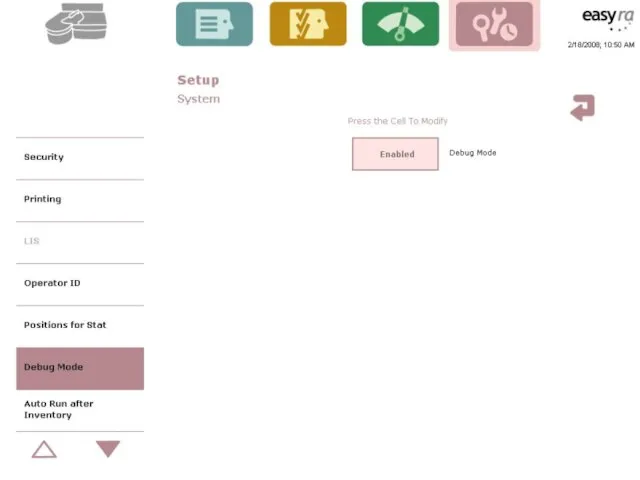
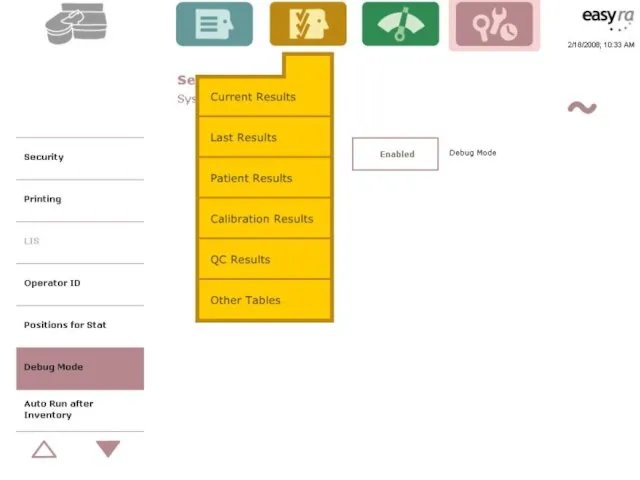
The “Debug Mode”
When Medica Technical Support says “Yes” or when additional
The “Debug Mode”
When Medica Technical Support says “Yes” or when additional


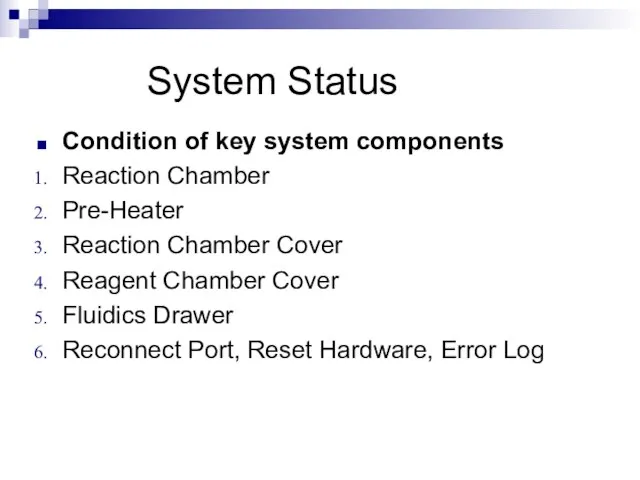
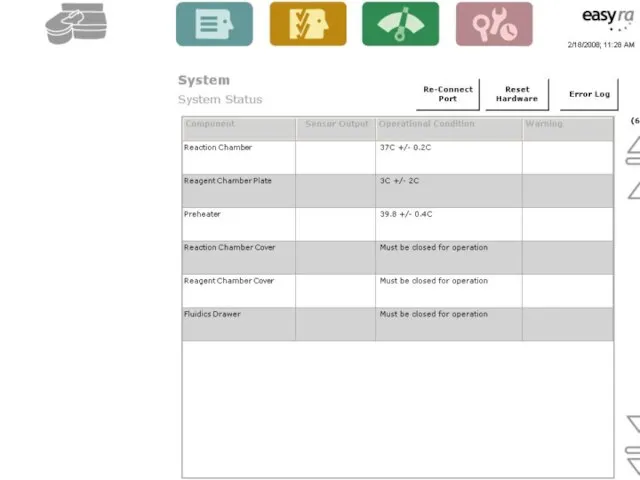
System Status
Condition of key system components
Reaction Chamber
Pre-Heater
Reaction Chamber Cover
Reagent Chamber
System Status
Condition of key system components
Reaction Chamber
Pre-Heater
Reaction Chamber Cover
Reagent Chamber
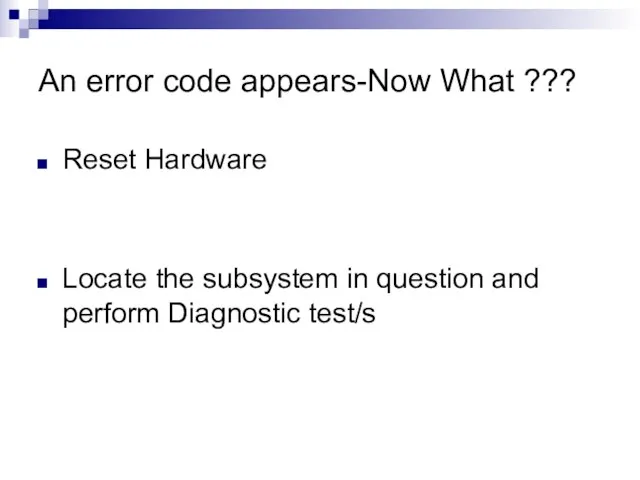
An error code appears-Now What ???
Reset Hardware
Locate the subsystem in question
An error code appears-Now What ???
Reset Hardware
Locate the subsystem in question
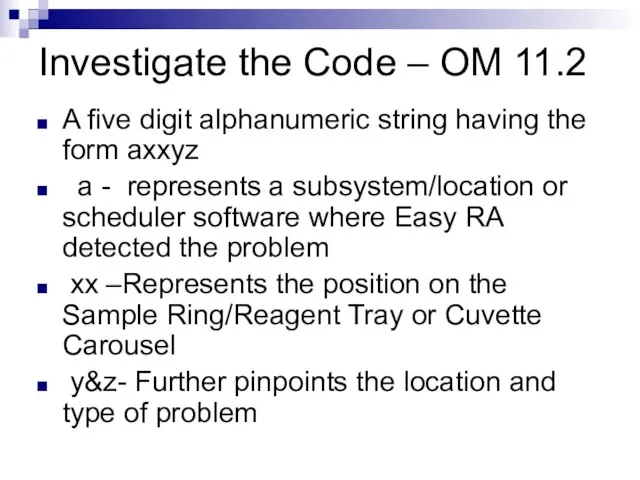
Investigate the Code – OM 11.2
A five digit alphanumeric string having
Investigate the Code – OM 11.2
A five digit alphanumeric string having
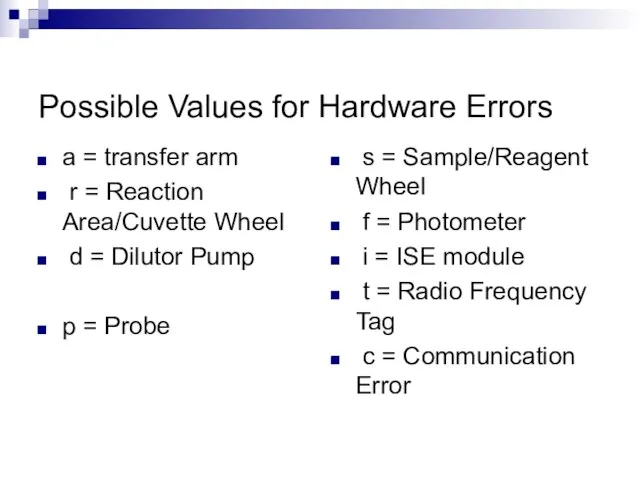
Possible Values for Hardware Errors
a = transfer arm
r = Reaction
Possible Values for Hardware Errors
a = transfer arm
r = Reaction
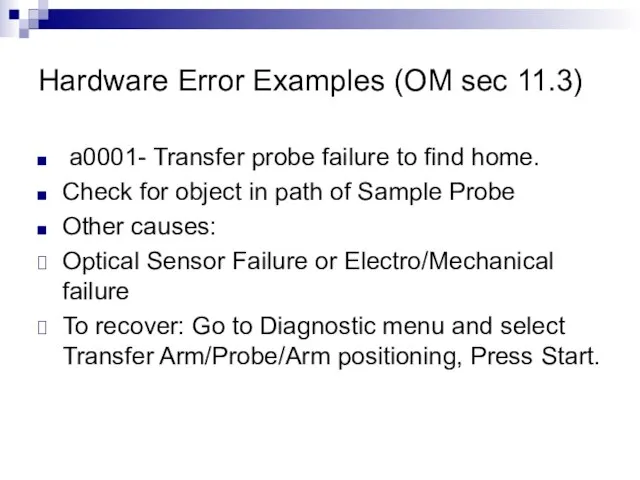
Hardware Error Examples (OM sec 11.3)
a0001- Transfer probe failure to
Hardware Error Examples (OM sec 11.3)
a0001- Transfer probe failure to

System Error Codes
P0124 – Empty Sample Cup
“ Check
System Error Codes
P0124 – Empty Sample Cup
“ Check

System Error Codes
S0001- S0002 – Sample Wheel Home and Position
System Error Codes
S0001- S0002 – Sample Wheel Home and Position
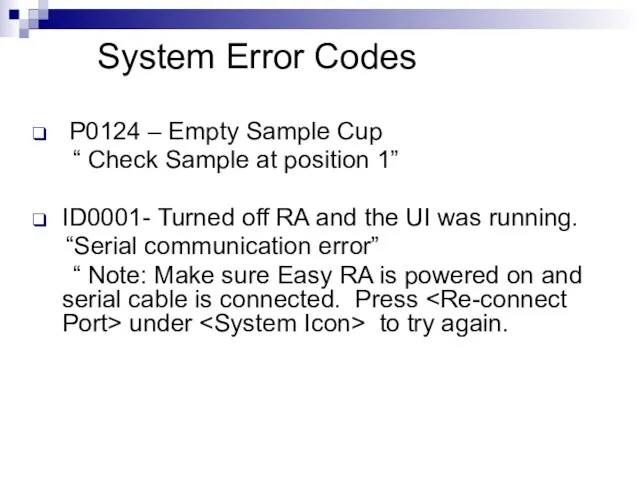
System Error Codes
P0124 – Empty Sample Cup
“ Check
System Error Codes
P0124 – Empty Sample Cup
“ Check
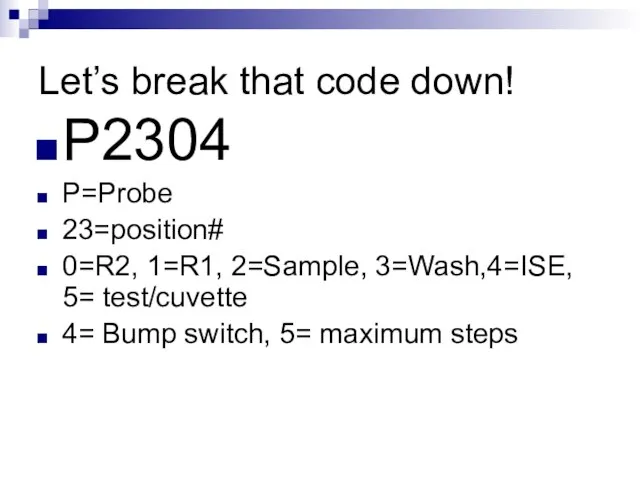
Let’s break that code down!
P2304
P=Probe
23=position#
0=R2, 1=R1, 2=Sample, 3=Wash,4=ISE, 5= test/cuvette
4= Bump
Let’s break that code down!
P2304
P=Probe
23=position#
0=R2, 1=R1, 2=Sample, 3=Wash,4=ISE, 5= test/cuvette
4= Bump
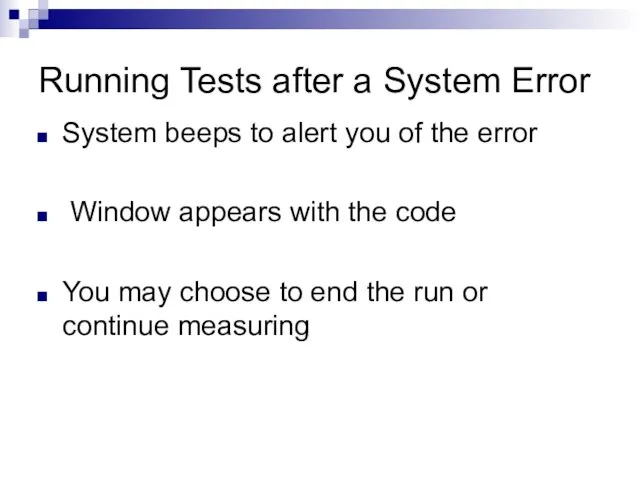
Running Tests after a System Error
System beeps to alert you of
Running Tests after a System Error
System beeps to alert you of
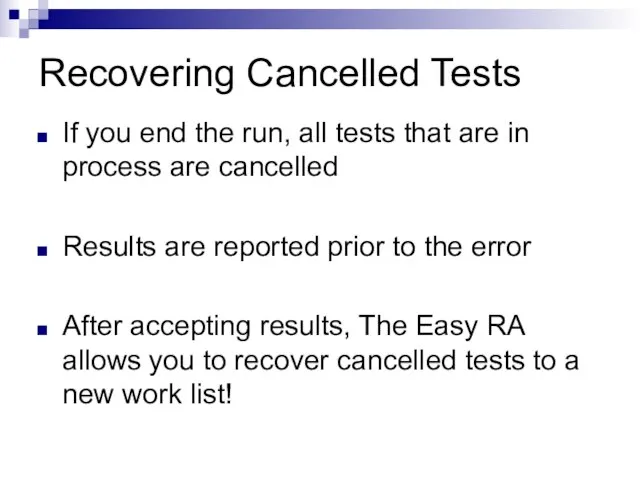
Recovering Cancelled Tests
If you end the run, all tests that are
Recovering Cancelled Tests
If you end the run, all tests that are
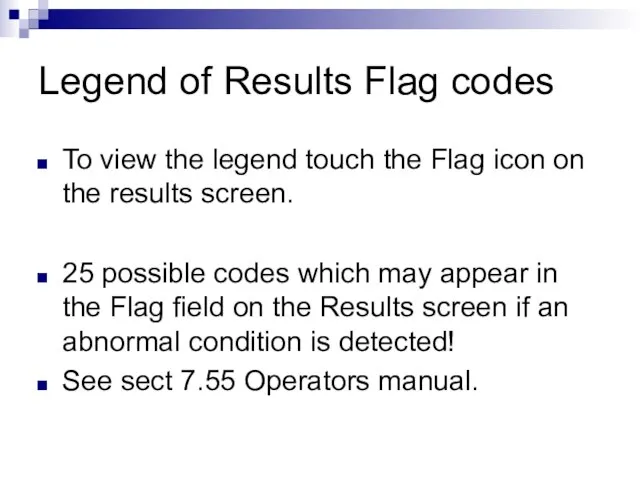
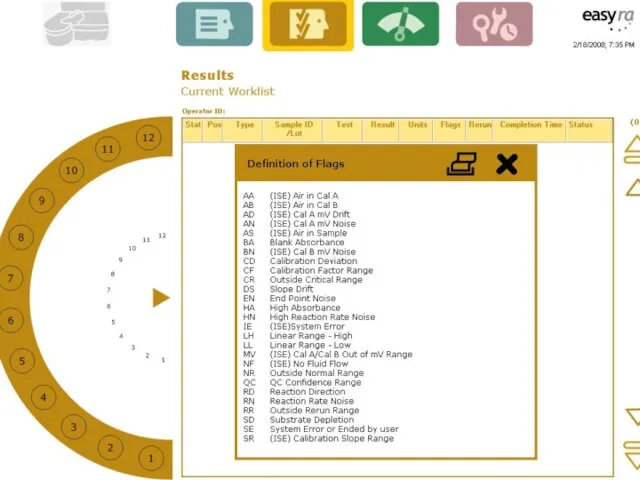
Legend of Results Flag codes
To view the legend touch the Flag
Legend of Results Flag codes
To view the legend touch the Flag

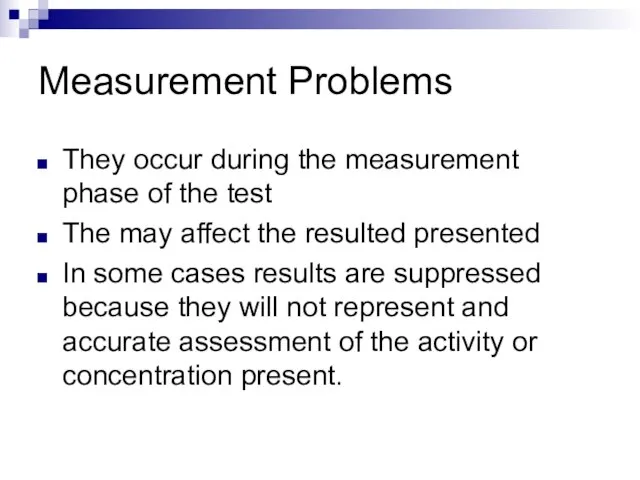
Measurement Problems
They occur during the measurement phase of the test
The may
Measurement Problems
They occur during the measurement phase of the test
The may
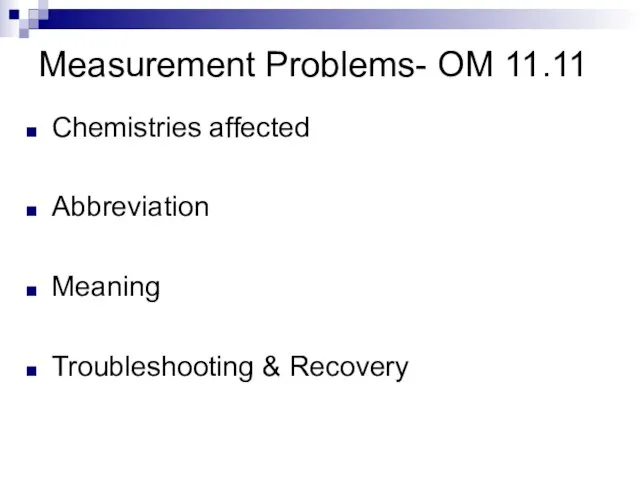
Measurement Problems- OM 11.11
Chemistries affected
Abbreviation
Meaning
Troubleshooting & Recovery
Measurement Problems- OM 11.11
Chemistries affected
Abbreviation
Meaning
Troubleshooting & Recovery
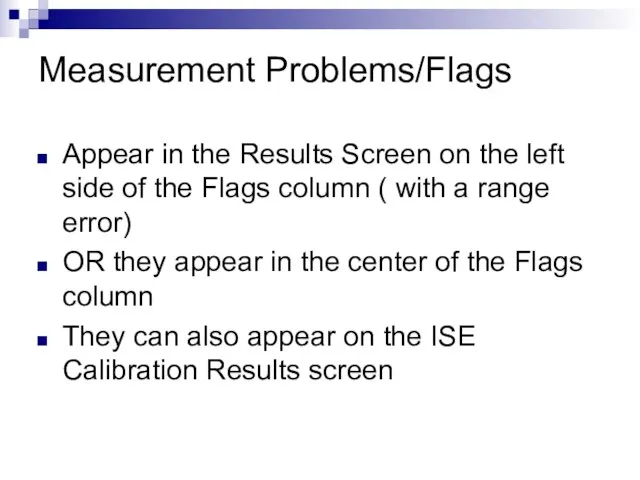
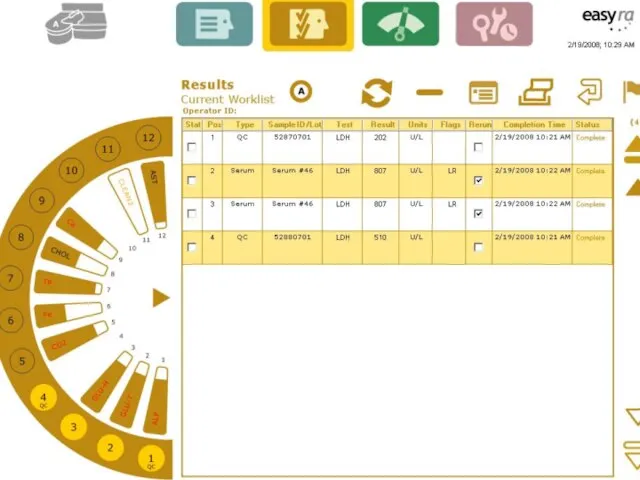
Measurement Problems/Flags
Appear in the Results Screen on the left side of
Measurement Problems/Flags
Appear in the Results Screen on the left side of
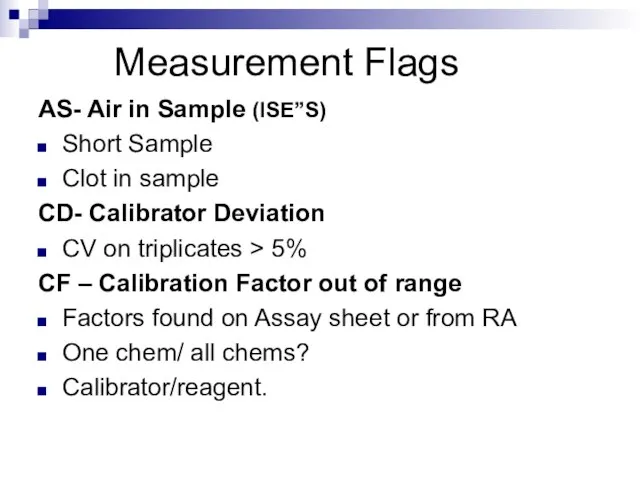
Measurement Flags
AS- Air in Sample (ISE”S)
Short Sample
Clot in sample
CD- Calibrator
Measurement Flags
AS- Air in Sample (ISE”S)
Short Sample
Clot in sample
CD- Calibrator

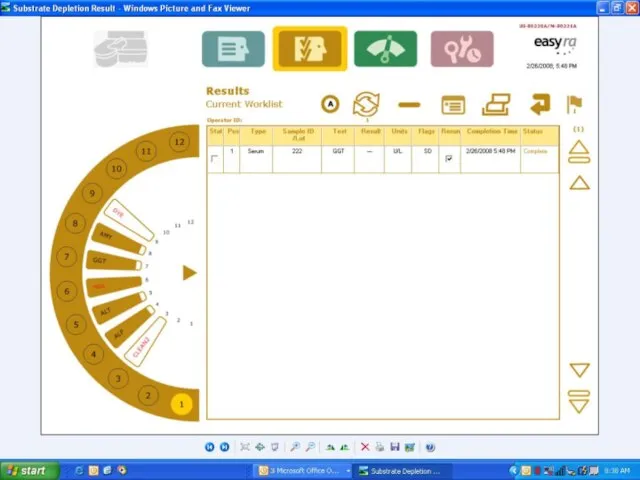
Measurement flag- SD (OM Table 11.2)
Substrate Depletion - Reagent ran out
Measurement flag- SD (OM Table 11.2)
Substrate Depletion - Reagent ran out
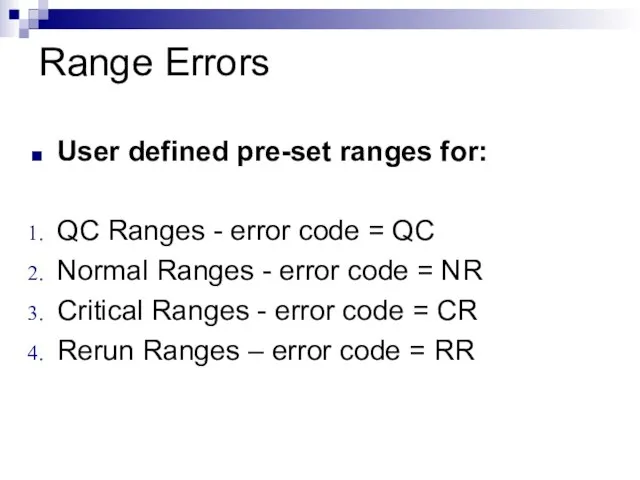
Range Errors
User defined pre-set ranges for:
QC Ranges - error code
Range Errors
User defined pre-set ranges for:
QC Ranges - error code
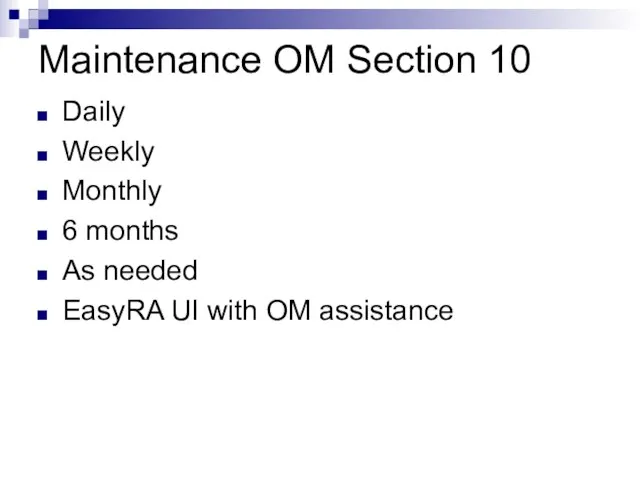
Maintenance OM Section 10
Daily
Weekly
Monthly
6 months
As needed
EasyRA UI with OM assistance
Maintenance OM Section 10
Daily
Weekly
Monthly
6 months
As needed
EasyRA UI with OM assistance
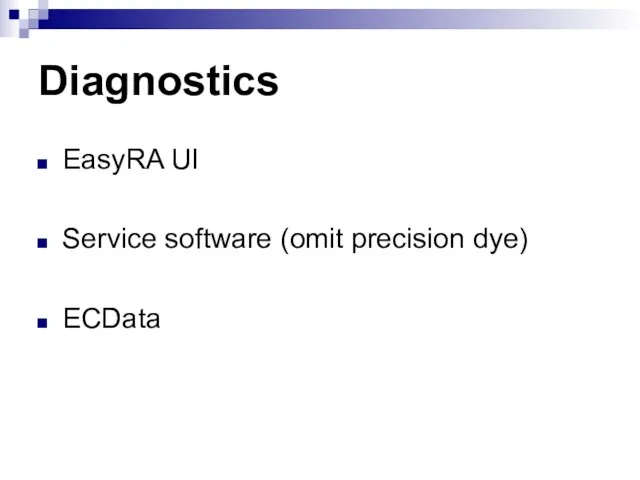
Diagnostics
EasyRA UI
Service software (omit precision dye)
ECData
Diagnostics
EasyRA UI
Service software (omit precision dye)
ECData
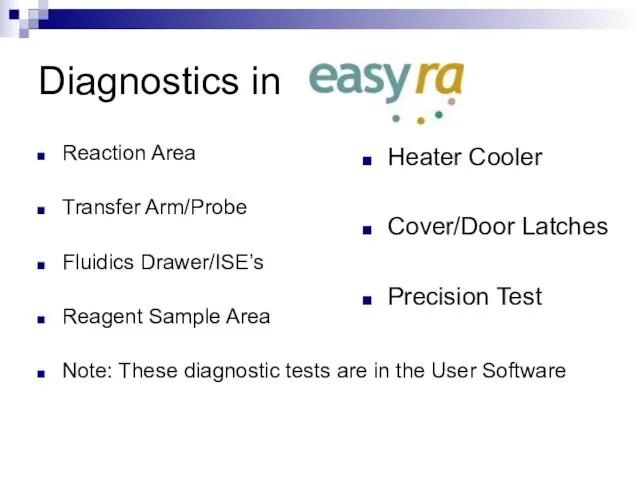
Diagnostics in
Reaction Area
Transfer Arm/Probe
Fluidics Drawer/ISE’s
Reagent Sample Area
Note: These diagnostic tests
Diagnostics in
Reaction Area
Transfer Arm/Probe
Fluidics Drawer/ISE’s
Reagent Sample Area
Note: These diagnostic tests
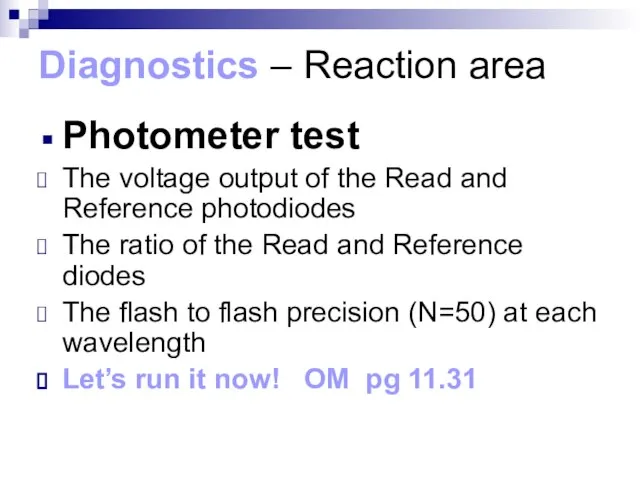
Diagnostics – Reaction area
Photometer test
The voltage output of the Read and
Diagnostics – Reaction area
Photometer test
The voltage output of the Read and
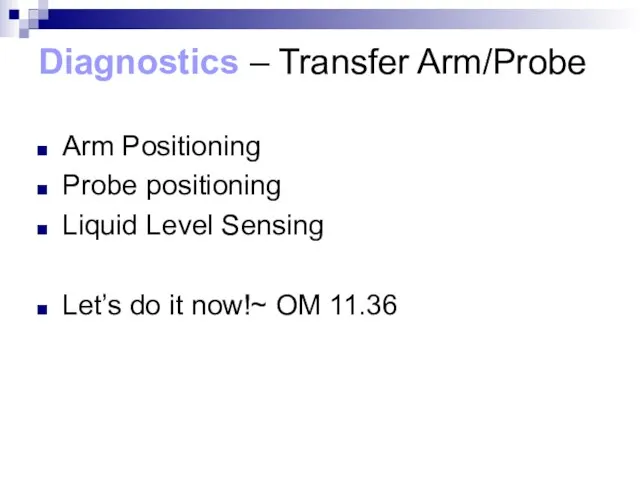
Diagnostics – Transfer Arm/Probe
Arm Positioning
Probe positioning
Liquid Level Sensing
Let’s do it now!~
Diagnostics – Transfer Arm/Probe
Arm Positioning
Probe positioning
Liquid Level Sensing
Let’s do it now!~
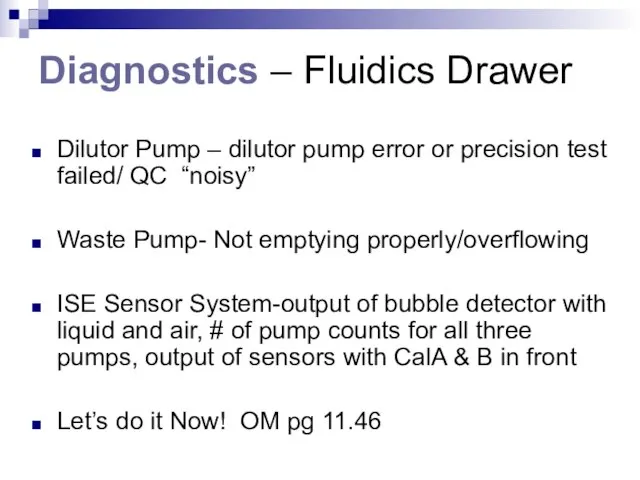
Diagnostics – Fluidics Drawer
Dilutor Pump – dilutor pump error or precision
Diagnostics – Fluidics Drawer
Dilutor Pump – dilutor pump error or precision
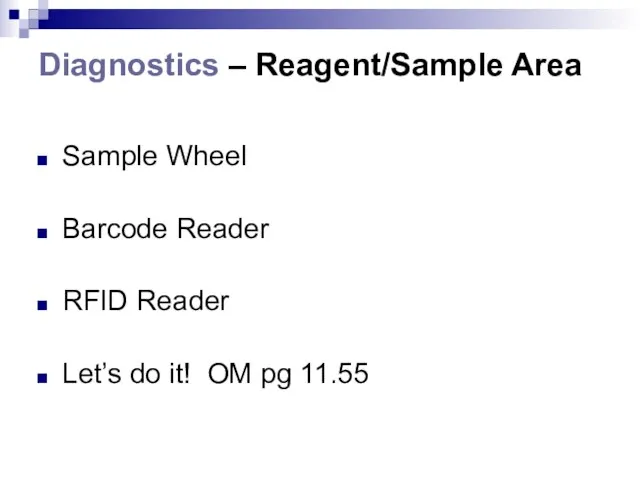
Diagnostics – Reagent/Sample Area
Sample Wheel
Barcode Reader
RFID Reader
Let’s do it! OM pg
Diagnostics – Reagent/Sample Area
Sample Wheel
Barcode Reader
RFID Reader
Let’s do it! OM pg

Precision Test – OM 11.67
The most important test on the
An
Precision Test – OM 11.67
The most important test on the
An
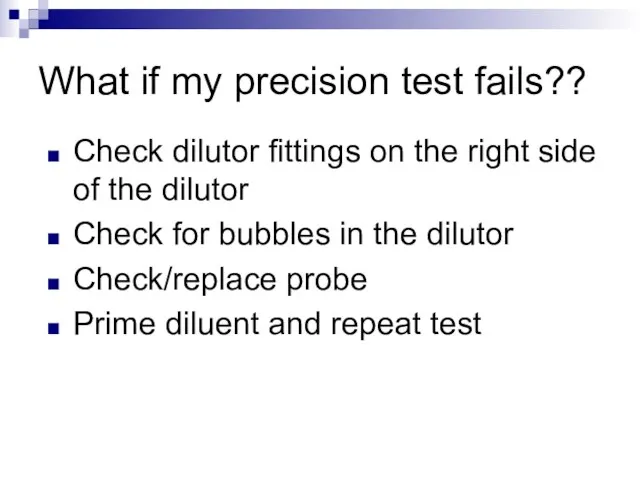
What if my precision test fails??
Check dilutor fittings on the right
What if my precision test fails??
Check dilutor fittings on the right
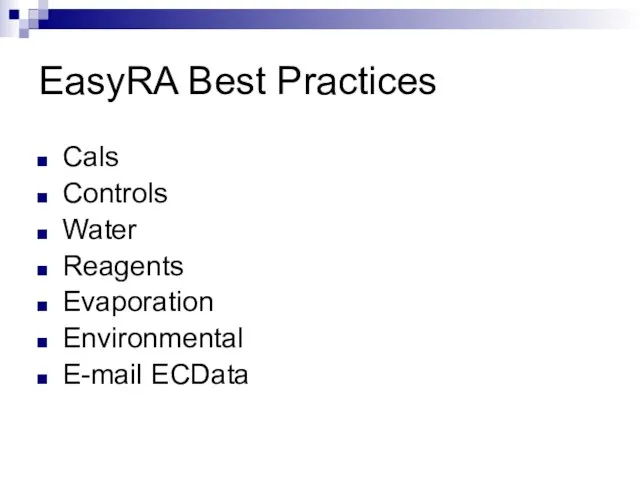
EasyRA Best Practices
Cals
Controls
Water
Reagents
Evaporation
Environmental
E-mail ECData
EasyRA Best Practices
Cals
Controls
Water
Reagents
Evaporation
Environmental
E-mail ECData
Service Training
Special Tools Required and supplied by Medica
Service Training
Special Tools Required and supplied by Medica
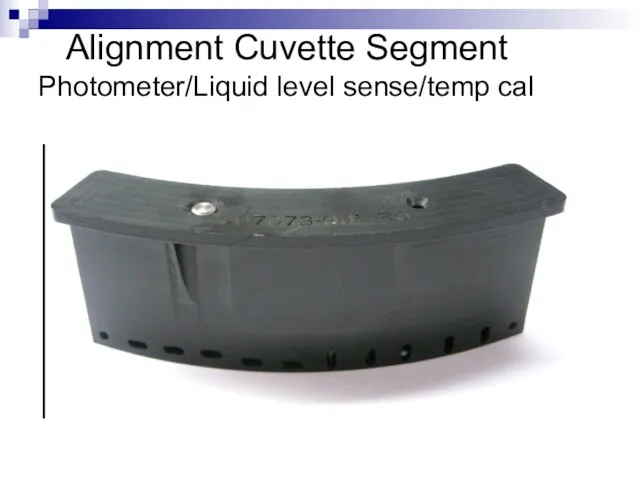
Alignment Cuvette Segment
Photometer/Liquid level sense/temp cal
Alignment Cuvette Segment
Photometer/Liquid level sense/temp cal
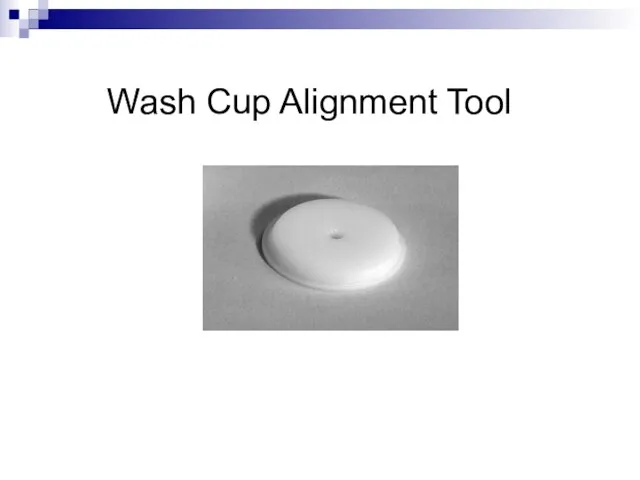
Wash Cup Alignment Tool
Wash Cup Alignment Tool
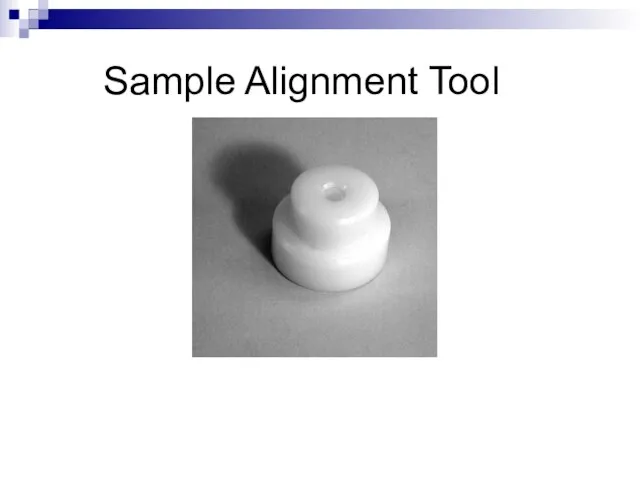
Sample Alignment Tool
Sample Alignment Tool
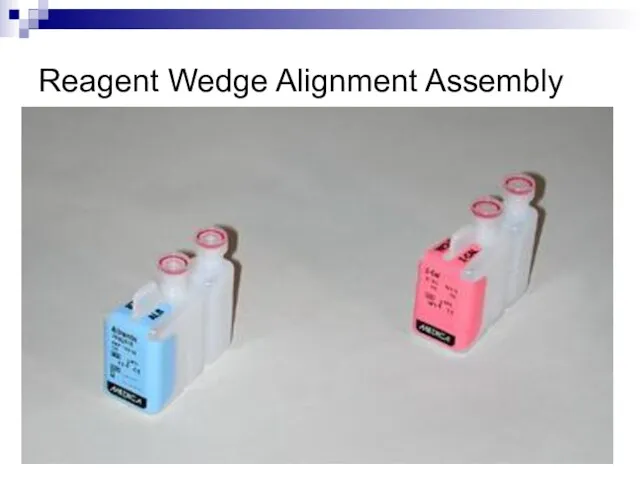
Reagent Wedge Alignment Assembly
Reagent Wedge Alignment Assembly
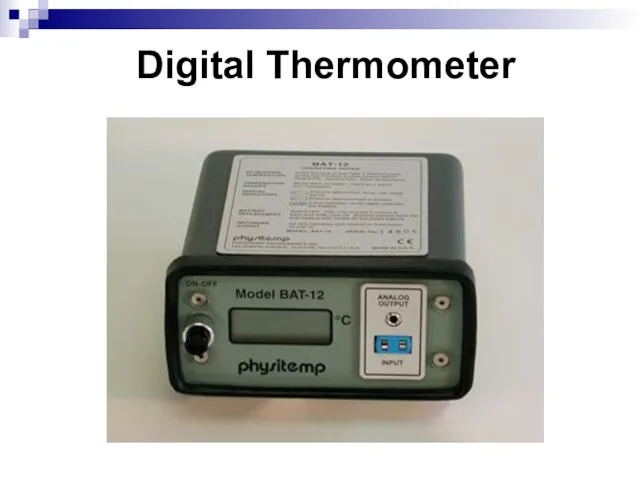
Digital Thermometer
Digital Thermometer
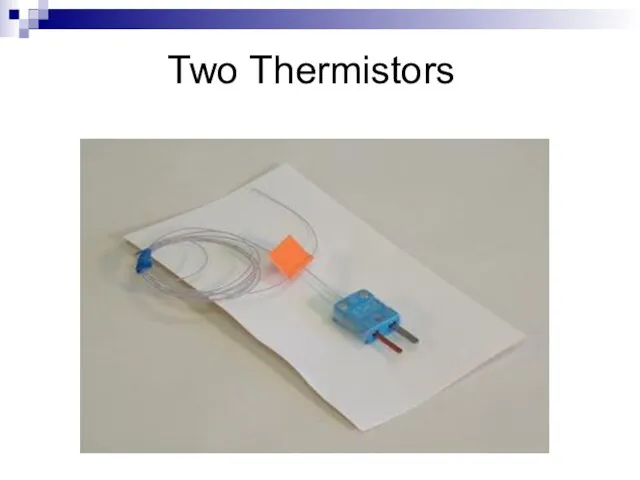
Two Thermistors
Two Thermistors
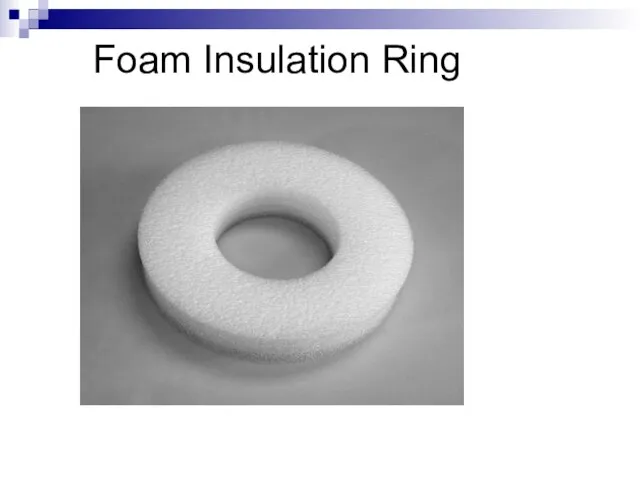
Foam Insulation Ring
Foam Insulation Ring
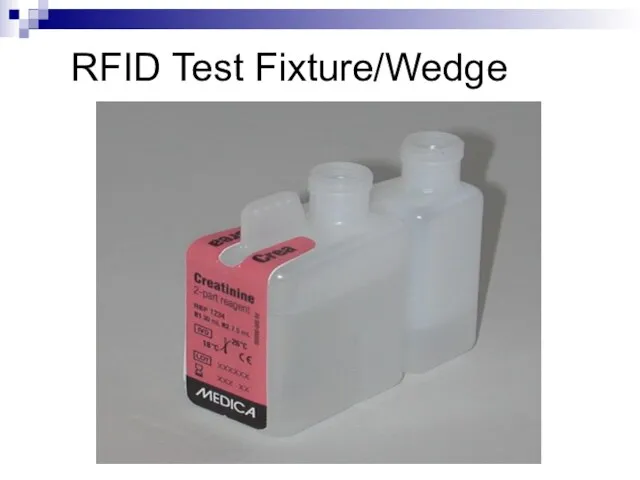
RFID Test Fixture/Wedge
RFID Test Fixture/Wedge

Reagent Wedge Base Tool (shim)
Reagent Wedge Base Tool (shim)
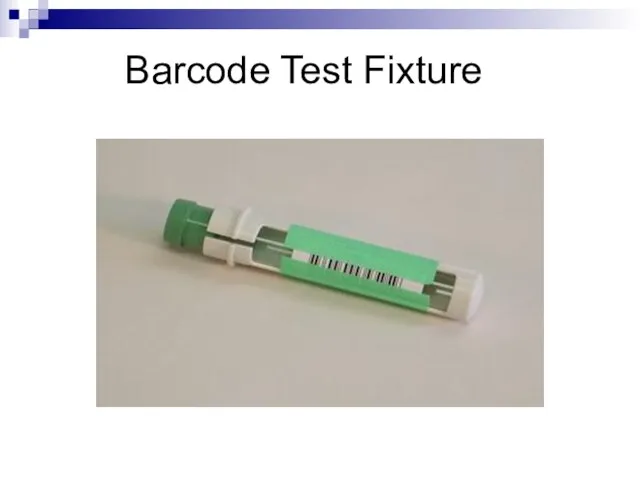
Barcode Test Fixture
Barcode Test Fixture
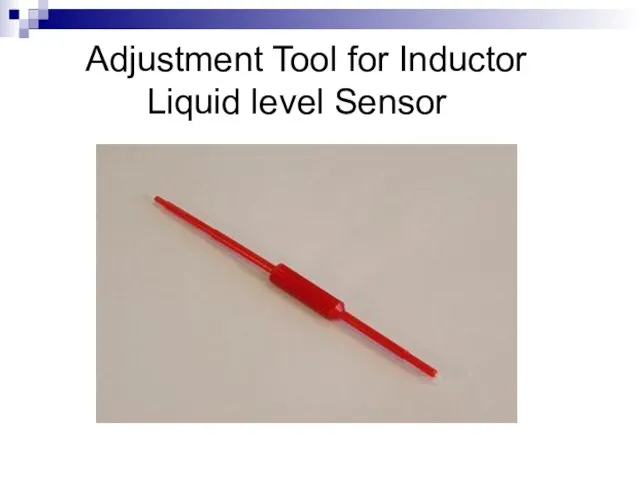
Adjustment Tool for Inductor Liquid level Sensor
Adjustment Tool for Inductor Liquid level Sensor
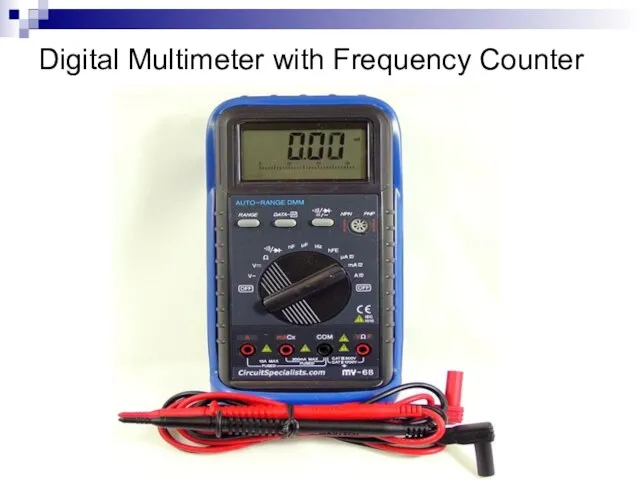
Digital Multimeter with Frequency Counter
Digital Multimeter with Frequency Counter
Duct Tape
Duct Tape
Service Software CD
Service Software CD
Service Software
Fluidics Drawer – ISE’s
Sample/Reagent Area
Reaction Area
Photometer
Mother Board
Service Software
Fluidics Drawer – ISE’s
Sample/Reagent Area
Reaction Area
Photometer
Mother Board
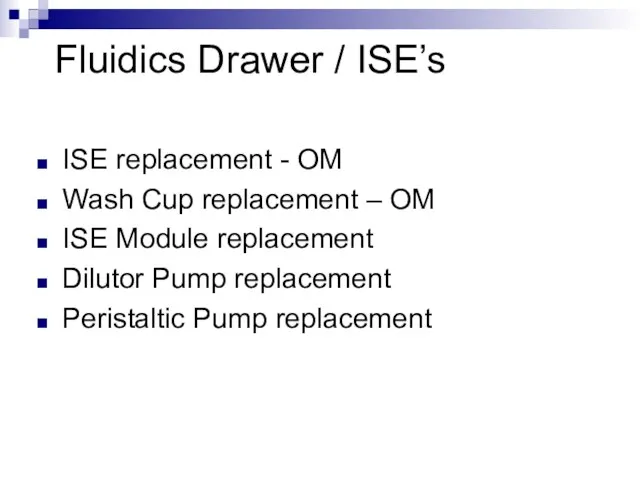
Fluidics Drawer / ISE’s
ISE replacement - OM
Wash Cup replacement –
Fluidics Drawer / ISE’s
ISE replacement - OM
Wash Cup replacement –
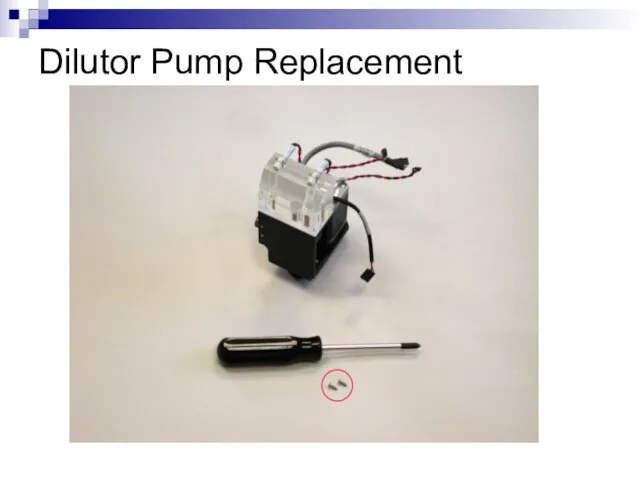
Dilutor Pump Replacement
Dilutor Pump Replacement
Dilutor Pump Replacement
Dilutor Pump Replacement
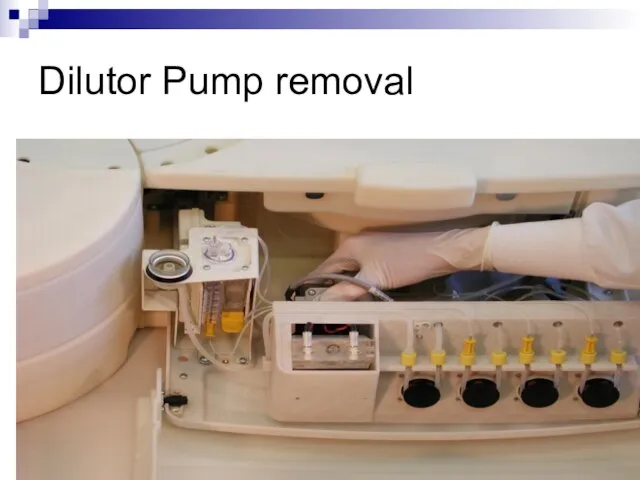
Dilutor Pump removal
Dilutor Pump removal

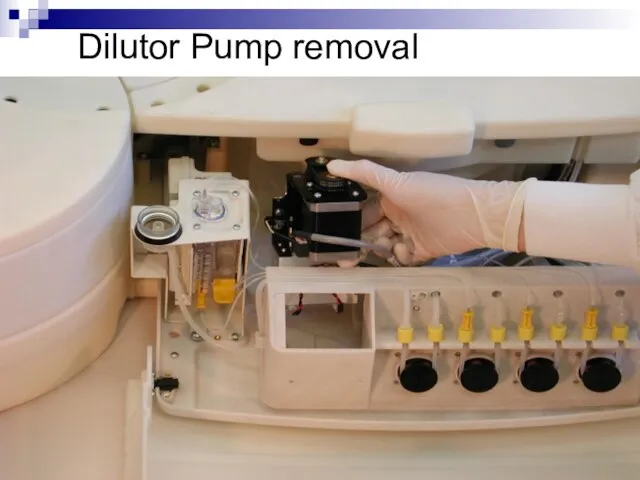
Dilutor Pump removal
Dilutor Pump removal
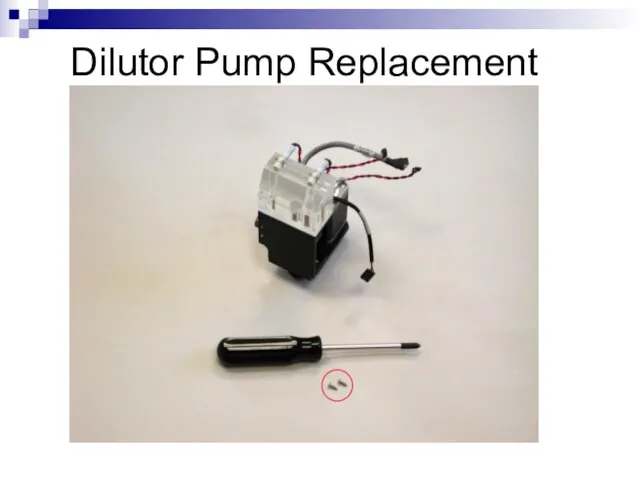
Dilutor Pump Replacement
Dilutor Pump Replacement

Dilutor Pump Replacement
Dilutor Pump Replacement
Peri Pump Replacement
Peri Pump Replacement
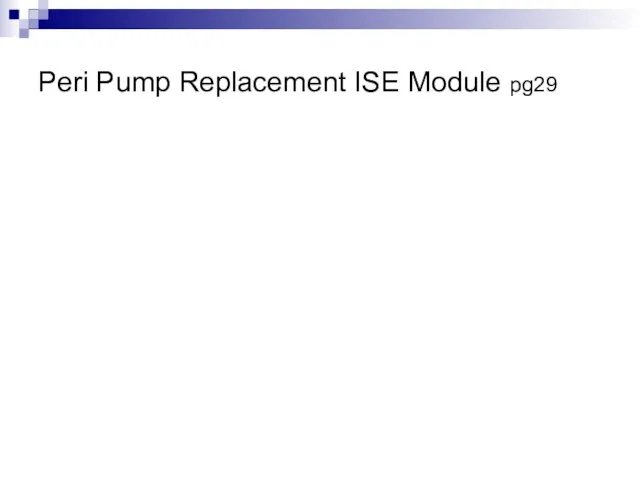
Peri Pump Replacement ISE Module pg29
Peri Pump Replacement ISE Module pg29
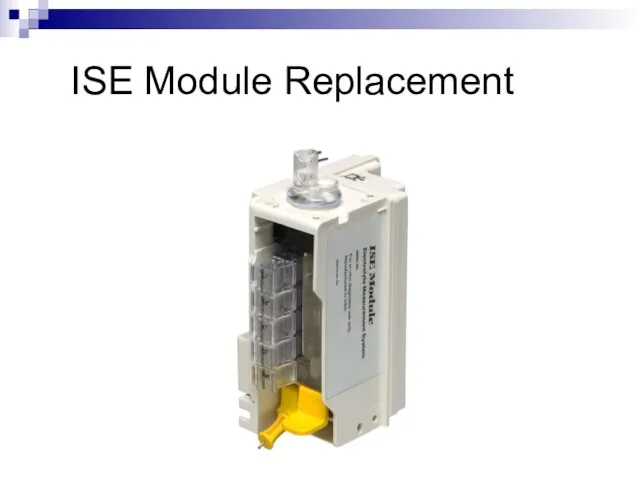
ISE Module Replacement
ISE Module Replacement
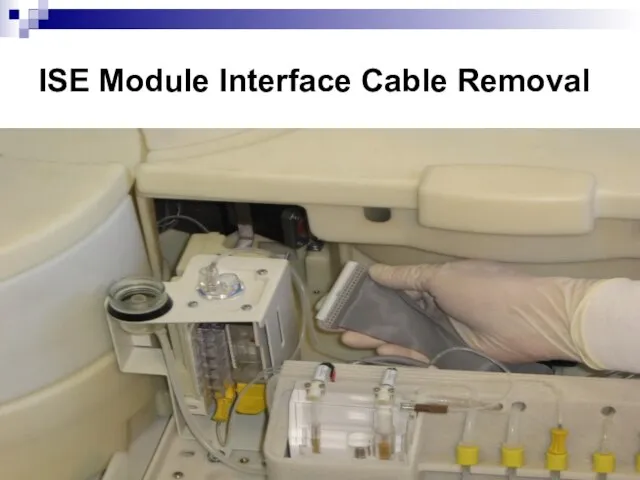
ISE Module Interface Cable Removal
ISE Module Interface Cable Removal
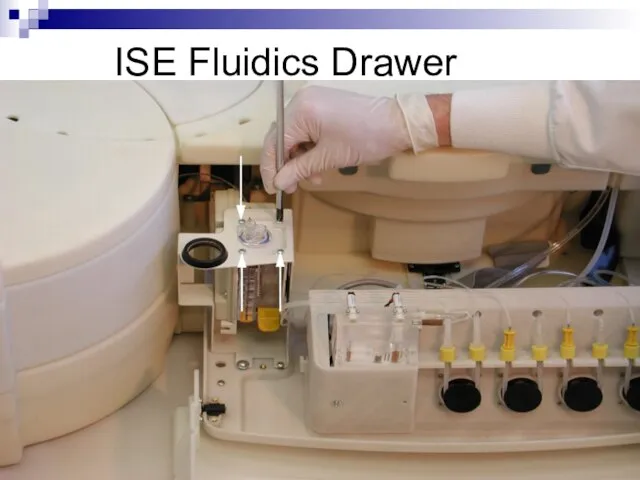
ISE Fluidics Drawer
ISE Fluidics Drawer
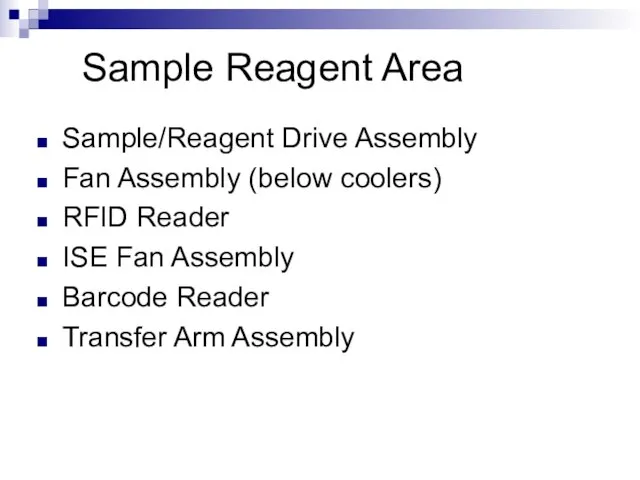
Sample Reagent Area
Sample/Reagent Drive Assembly
Fan Assembly (below coolers)
RFID Reader
ISE Fan
Sample Reagent Area
Sample/Reagent Drive Assembly
Fan Assembly (below coolers)
RFID Reader
ISE Fan
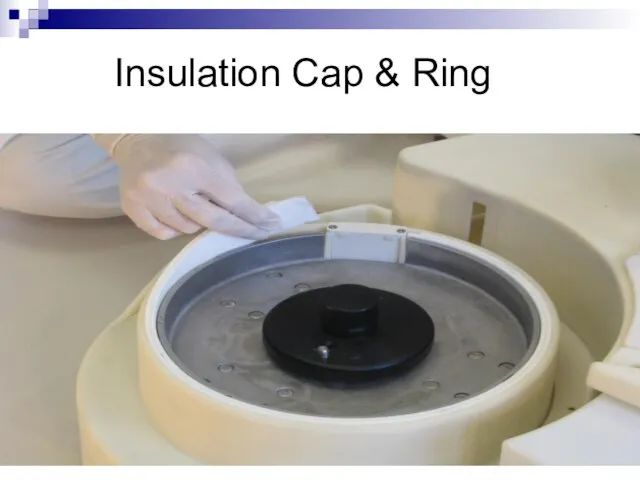
Insulation Cap & Ring
Insulation Cap & Ring
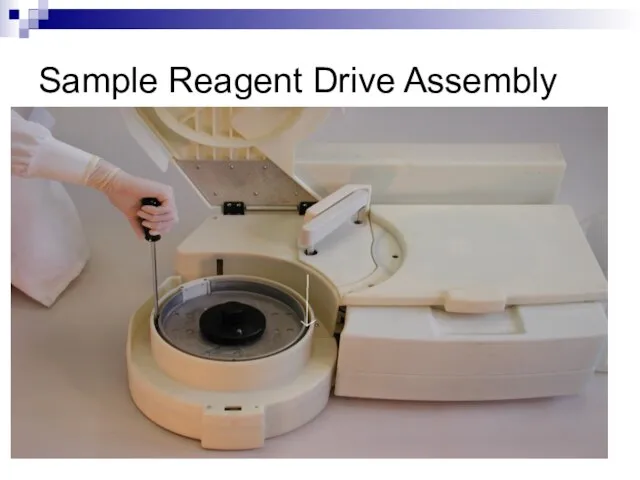
Sample Reagent Drive Assembly
Sample Reagent Drive Assembly
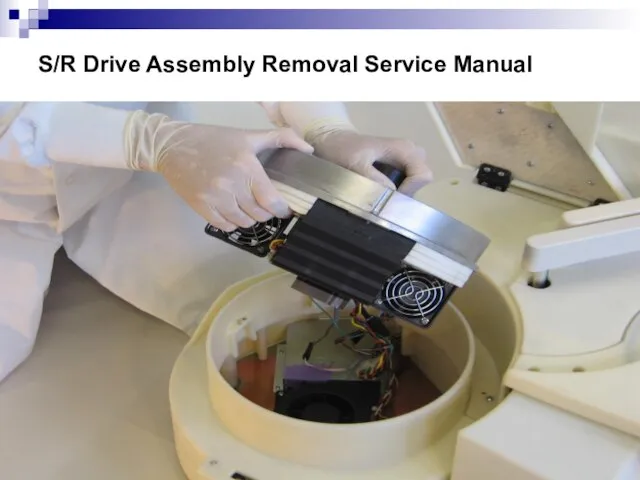
S/R Drive Assembly Removal Service Manual
S/R Drive Assembly Removal Service Manual
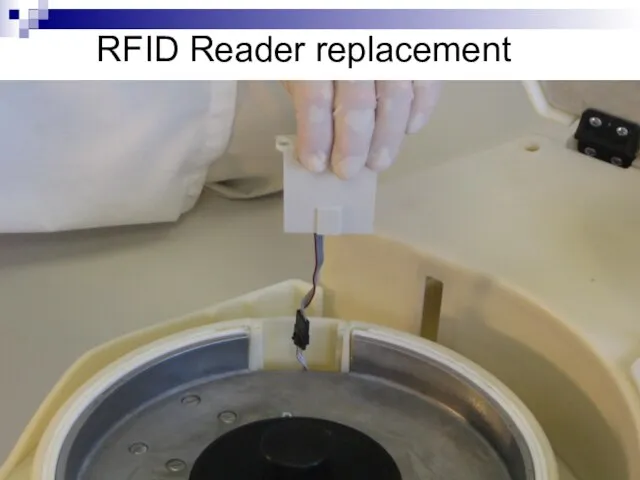
RFID Reader replacement
RFID Reader replacement
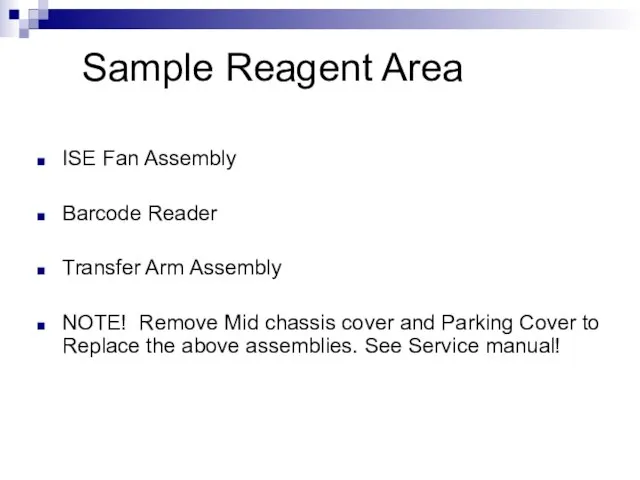
Sample Reagent Area
ISE Fan Assembly
Barcode Reader
Transfer Arm Assembly
NOTE! Remove Mid
Sample Reagent Area
ISE Fan Assembly
Barcode Reader
Transfer Arm Assembly
NOTE! Remove Mid
Removing the Mid Chassis & Parking Cover allows you to…….
Remove/replace the
Removing the Mid Chassis & Parking Cover allows you to…….
Remove/replace the
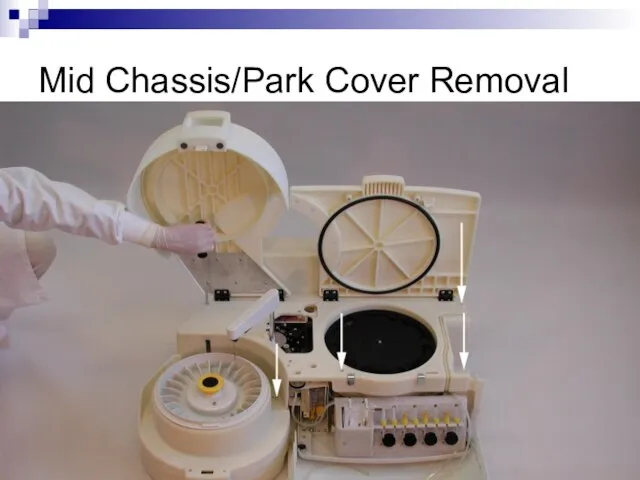
Mid Chassis/Park Cover Removal
Mid Chassis/Park Cover Removal
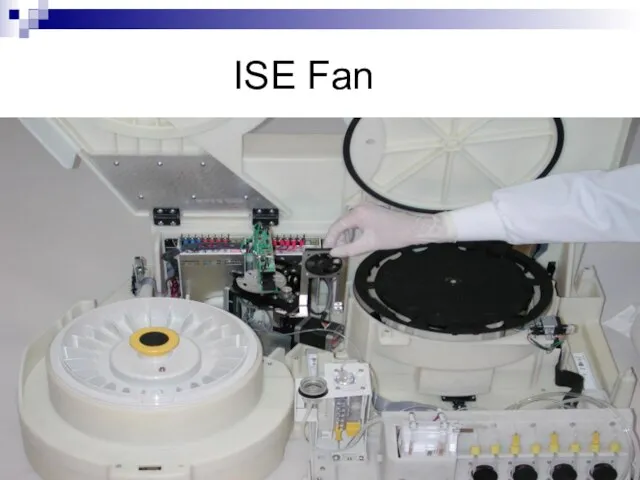
ISE Fan
ISE Fan
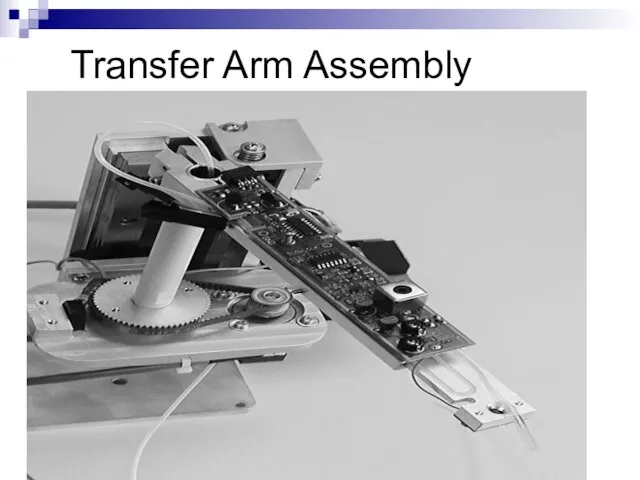
Transfer Arm Assembly
Transfer Arm Assembly
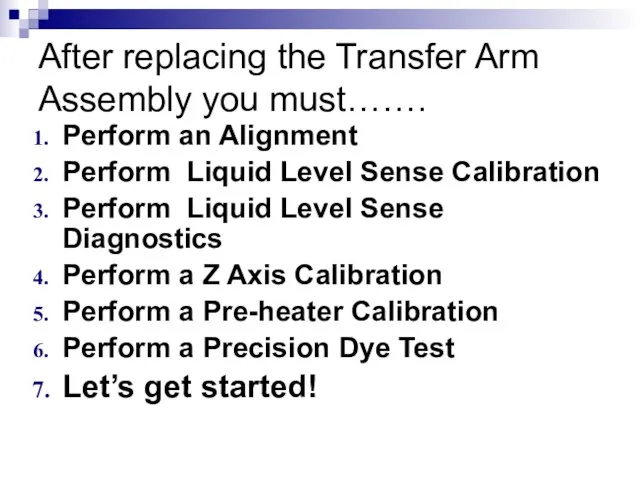
After replacing the Transfer Arm Assembly you must…….
Perform an Alignment
Perform Liquid
After replacing the Transfer Arm Assembly you must…….
Perform an Alignment
Perform Liquid
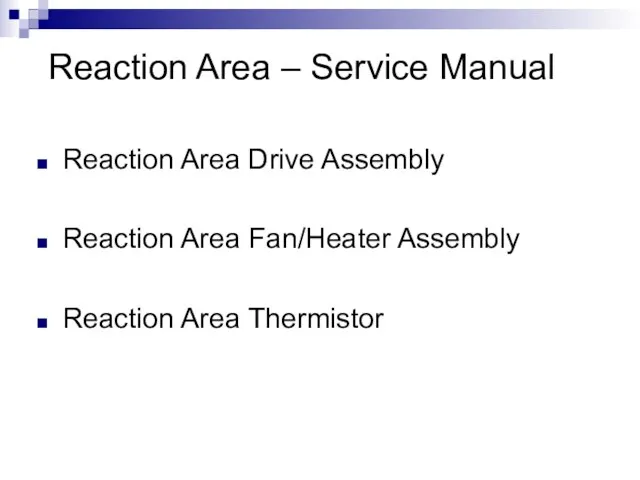
Reaction Area – Service Manual
Reaction Area Drive Assembly
Reaction Area Fan/Heater
Reaction Area – Service Manual
Reaction Area Drive Assembly
Reaction Area Fan/Heater
After Replacing the Fan and or Thermistor You must……
Perform a Temperature
After Replacing the Fan and or Thermistor You must……
Perform a Temperature
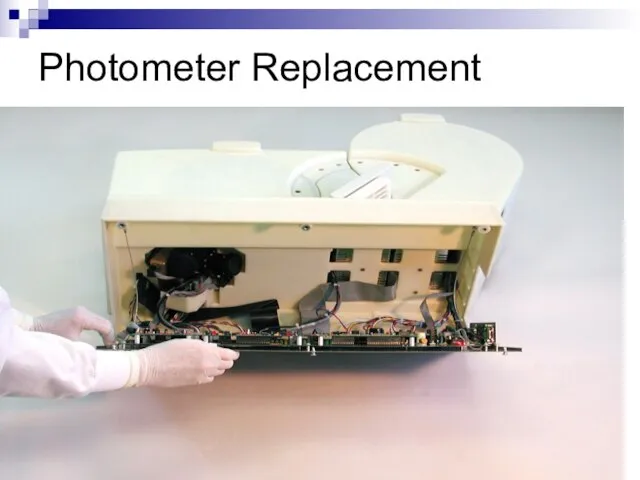
Photometer Replacement
Photometer Replacement
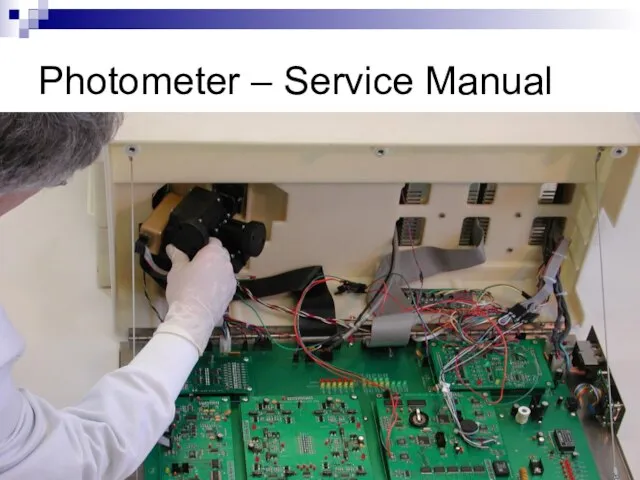
Photometer – Service Manual
Photometer – Service Manual
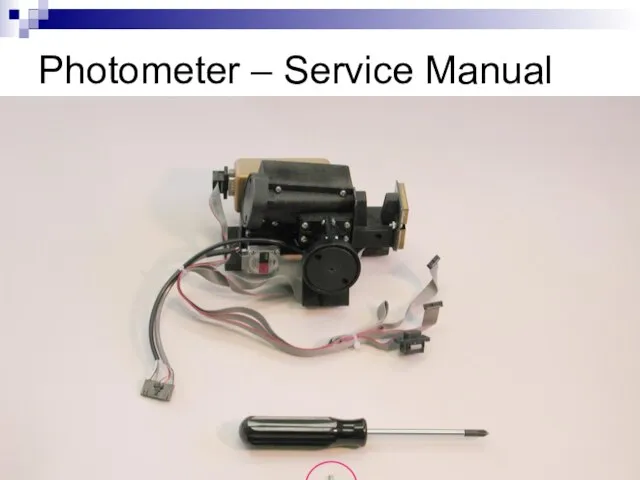
Photometer – Service Manual
Photometer – Service Manual
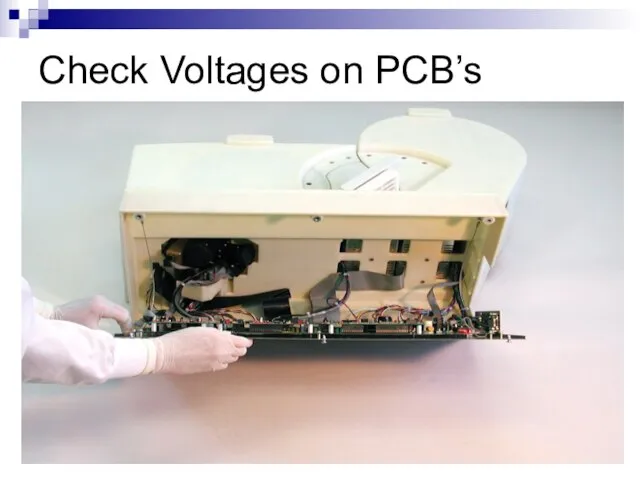
Check Voltages on PCB’s
Check Voltages on PCB’s
 Патология иммунной системы. Иммунодефицит
 Органы дыхания: жалобы
 Паспорт ЛПУ. Основные принципы заполнения
 Симптоматология острого и хронического гломерулонефрита, пиелонефрита, почечной недостаточности. (Тема 32)
 Патология. Общая и частная
 Ультразвуковая диагностика мочевых органов
 Правила игры в мини-футбол
 Временные и окончательные методы остановки кровотечения
 Пациент с обострением ХОБЛ
 Психотропные средства
 Cредства, влияющие на афферентную иннервацию. Местные анестетики
 Болезни органов дыхания
 Болезни почек
 Мышление. Как стресс влияет на мышление
 Рациональная антибактериальная терапия
 Приобретённые пороки сердца. Митральный стеноз
 Липома и липосаркома
 Вредные привычки и здоровье зубов
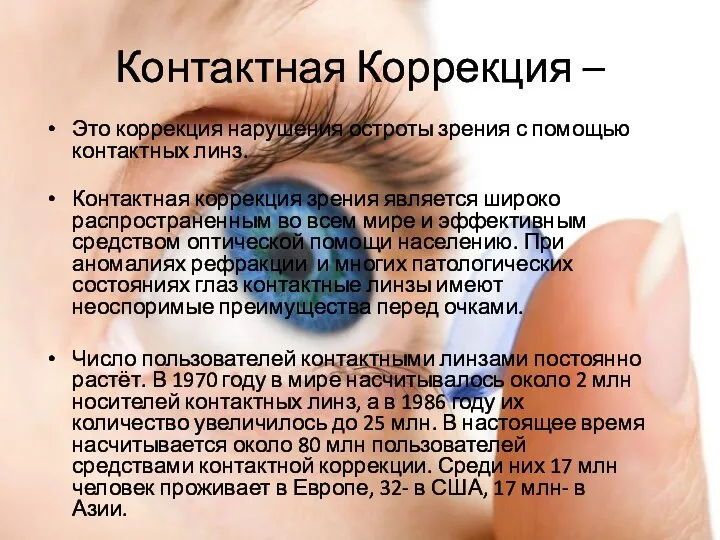 Контактная коррекция
 Физико-химические и технологические свойства порошкообразных лекарственных субстанций
 Слайд-лекция № 21. Антибиотики 2
 Возрастная психология
 Современные лабораторные и инструментальные методы исследования
 Поддерживающая терапия в период химиотерапии
 Анемиялар
 Практическое занятие. Первая помощь при вывихах и переломах костей
 Лимфотропная терапия
 Ваш ребенок - третьеклассник. О душе и личности ребёнка